
I can’t believe fall is here. Although the “official” first day of fall isn’t till later this month, I am so excited to start decorating for my favorite season. This weekend I pulled out my bucket of fall decor and happily started placing my collection of pumpkins around the house. I love fall.
As I was in the basement getting my bucket of fall stuff, I saw my huge box of left over moving paper. When we moved in, I had a hard time throwing out the paper we used to wrap some of our breakable stuff, so I saved a bunch of it.


We have been using it for painting projects. I let the kids paint on it, or I put it under other things we are painting to protect the surface. I decided to try to make a paper pumpkin with some of it.
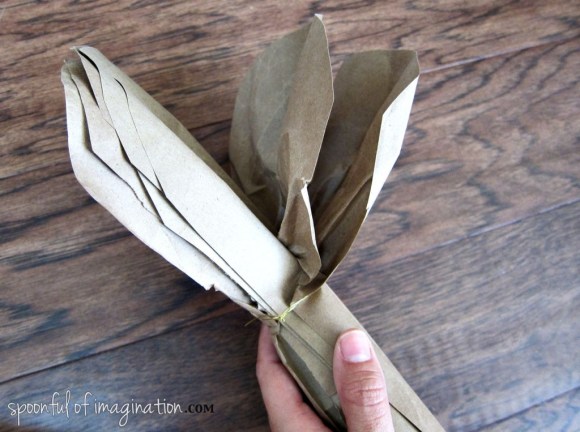
I started by cutting a bunch of paper pieces the same size. Next, I cut the ends of my paper strips to be rounded. Once I had a stack of rounded edged paper pieces, I folded the paper into one big fan and wrapped it with a thin piece of wire.
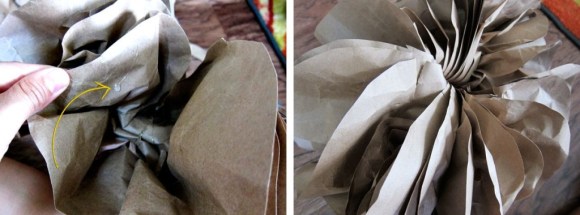
 Slowly, I started to pull the different pieces of paper out away from one another. This is a step that forces you to be some what patient. The moving paper is so thick that if I pulled to quickly the paper would rip.
 Once the paper pumpkin is fluffed, I glued the two end pieces (on either side) of the paper fan together to make the pumpkin hold shaped. I didn’t want it to separate back into a fan type shape, but I wanted it to hold the circle/pumpkin shape.
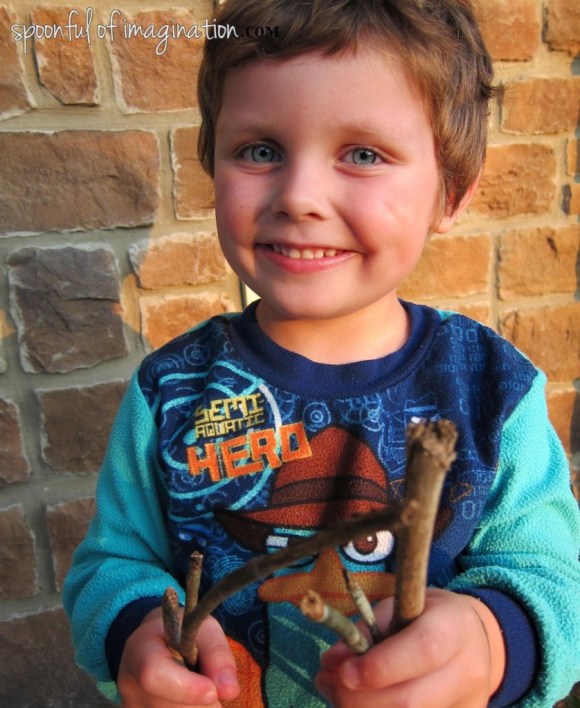
 Our kids were really excited about seeing the pumpkins coming out, and they wanted to help in this project. I let them help fluff the pumpkin and to find a good stick
 or six of them to act as its stem.

 Once I had a good stick for a pumpkin stem, I glued the stick and a small piece of felt (that I cut to look like a leaf) into the center of my pumpkin. My paper pumpkin was than complete!


I’m pretty happy with this rustic paper pumpkin. I love that it was made with recycled materials and that it brings a little rustic charm to our decor.


Have you started decorating for fall? I hope you had the chance to incorporate a spoonful of imagination into your weekend!
A special shout out to L. Thompson for winning a set of my Burlap Greeting Cards. I will be in touch!
Thank you so much for stopping in! I hope you have a blessed day!

These are adorable! I would so buy one of those at a craft sale!
Haha Thanks Kelley!! XO, Erica
I love it!
Thank you Cindy! My two year old does too…she keeps walking off with it 🙂 XO, Erica
This is SO cute! I have tons of packing paper that I bought in rolls at the $1 store last year and haven’t figured out what to do with…making this tomorrow!
Thanks for sharing!
Ashley Rane Sparks
http://www.makeitrane.com
AWWW That’s awesome Ashley! I am so glad you like them and I could inspire you! Thank you for sharing that with me. You could make a whole pumpkin patch! How cute! They would even look cute really small ones as a center piece! XO, Erica
I just finished unpacking in my new apartment and have been saving the packing paper and boxes for another mover and your tutorial on the paper pumpkin just hit the spot of imagination that needed a good shove after the fatigue of moving! Thank you so much for sharing. I, too, enjoy this time of year, although we won’t get any fall weather until late, late October or early November. I can dream.
OHHHH Moving is the pits Mike! We did four months ago…and it feels like it was yesterday. I hope you get some rest soon and a new normal happens quickly! I’m so glad you like my pumpkin and want to create one! Thank you for sharing!! XO, Erica