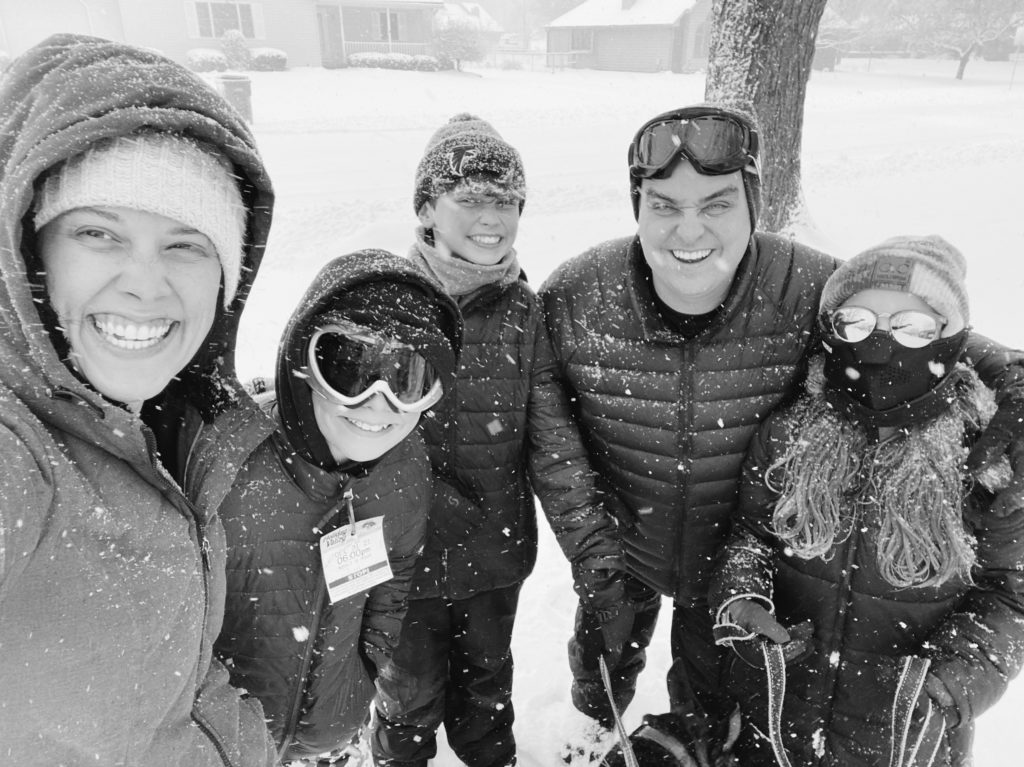
 We’ve been enjoying a winter storm here in Indiana. The kids are going on day three of school moving from in person to e-learning for the amount of snow we have had. They estimate we have had more than a foot of snow in 48 hours.
Our family has been able to get out and walk, play, and even scrap the driveway a time or four now.

 Although we love the outdoor play, we have had more indoor play as well. It got us thinking that others might be looking for some indoor fun too. We thought we would share this fun and multiple step snowman project with you to encourage some creative fun in your home this winter. Gather a few supplies from around your home and join us to build a snowman!
Supplies:
base canvas (we used white cardboard)
coloring tools (we used pastels)
paint supplies (we used tempera paint and a brush)
scrap paper (card stock, construction paper, etc)
scissors
Elmer’s glue
 Once you have the supplies and are ready to create, the first thing you do is draw a snowman! I love how Reagan drew a two circle snowman and Jeremiah drew a three circle snowman that is zoomed in on, as part of his shape is “off” the page.

 After you have used your drawing tools to draw the snowman, then you are ready to paint a winter scene for the snowman to live in! Paint the background surrounding the snowman. You can ask your artist why you should NOT paint in the snowman. Hopefully, they value clean, white snow too.

 The final step is to embellish and add details to that snowman. We used scrap paper to cut hats and scarfs to dress our snowmen. You can also use your drawing tools from step one to add more details to the snowman or background.


 Wasn’t that super easy? This is such a fun project to do with a few students or a whole class! Just as a review the steps are..
- Draw a snowman
- Paint around the snowman
- Embellish by gluing and drawing to add details
We love that no matter the same steps taught or supplies used, every project can look different. If you keep the rules “open ended” like they are listed simply above, each artist will take their own interpretation and be able to use his/her imagination to bring their own ideas to life. How cool is that!?

 We had so much fun creating some indoor snowman. Jeremiah suggested that real outdoor snowmen are more fun to create. It’s hard to compete with snow, right!? But, if you too need some indoor fun, try this fun project. My artists are in 5th and 7th grade and they still had fun. We are never too old to play with creative tools! The pieces don’t have to be saved for forever. Stick them on your mantel for the season like we did, and then feel free to toss them out. The most important part is to to HAVE FUN!
What kind of snowman will you create? Imagine the possibilities!


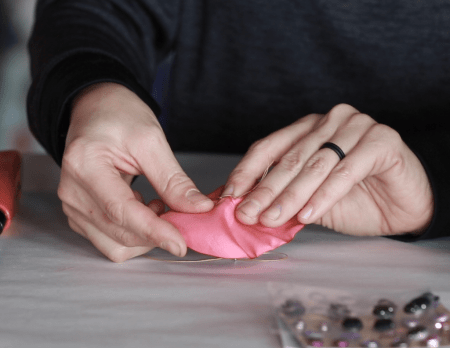


 Do you have a child who is fascinated with things in the kitchen? How about the pot holders? We do. Random, I know. What can I say? One of our sons uses them anytime he is warming up stuff or toasting things in the kitchen. I’ve tried to show him he’s not in a real danger zone with his warming duties, but he loves the pot holders. Maybe it makes him feel like a real chef!? It’s one of those easy parent-child issues that doesn’t really matter, so we’ve embraced the pot holder fetish.
 I started out by gathering a ton of supplies. Next, I had to consider what type of animal or creature to make! A monster or dinosaur were my first ideas because you could get super creative with colors and textures. With Thanksgiving coming up, I decided to make a turkey (knowing my first grader would have a blast with him).
 I started by cutting out the turkey’s beak. After placing it where it should go, I decided it needed to be a bit bigger. It helped me to cut out several of my pieces from the felt and just place them where they would go, before hot gluing them in place. This checked scale and placement before I committed to it.
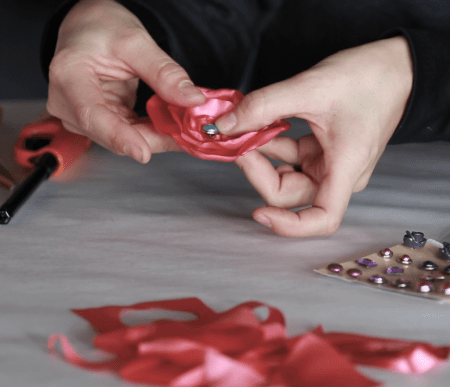
 After I had my main design, I hot glued the felt pieces in place and started playing with more materials. I added googly eyes and feathers for more fun textures.
 I loved it so much, I started snapping pictures to send to my husband immediately. I knew this turkey needed someone besides me to talk to, so I whipped up a horse to be his friend.
 My favorite part of the horse is the eyelashes! They are the side of a feather.

 What do you think!? Do you need to create some pot holder puppets as well!? I don’t think these will be used with our toaster oven, but they sure make a fun toy! Let your imagination go wild! What creature would you make??
 The creativity in this world amazes me.
 While the wrapping paper was taped to the wall, I looked at it off and on and thought how much I loved the print. I decided I wanted to try my hand at painting some flowers inspired by this design. I had a base wood sign that I had already built and painted white. It was a blank canvas waiting to be embellished and make into something. I came up with this idea to create a sign off a phrase that I have done a couple of times before (like in

 It was so fun just going for it. I loved laying my colors on top of each other and adding some details to the flowers to add another depth and color to the painting. It took a little while to wait for colors to dry before I could build on them. In between homeschooling and life I would capture a layer or two, so this part of the sign alone took about three days. It was worth it. I love how the sun was so much more fun and unique because of these flowers and to think it was all inspired by a piece of wrapping paper.

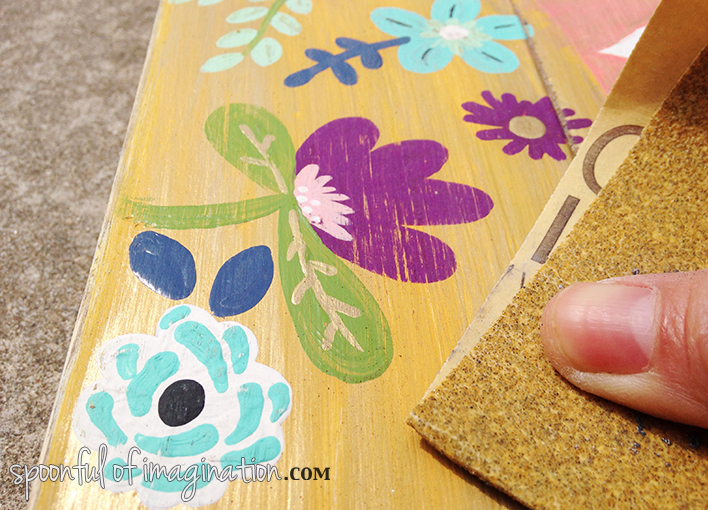 After I sanded, I painted on Minwax’s Early American stain and rubbed it off with an old cloth.
 I loved what this step did to the sign. My last step was to add the frame and stain it as well. I quickly measured the pieces and nailed them into place. My sign was finished, and I just adore it!

 I think it is a beautiful combination of color with a rustic/artsy edge. It’s so fun. This popular phrase has been made into all kinds of signs, but a small piece of wrapping paper helped me create a sign that I had not done/seen before. I love that we can find inspiration in the craziest of places.
 There are items that we can expect to find inspiration. Magazines, blog posts, and Pinterest are just few normal places to find inspiration. What are some of the weird ones you have found inspiration?