Have you ever loaded your family up (like on Christmas Vacation) and headed out to cut down a Christmas tree? Matt and I were a little excited our first year of marriage and took up that task. It was a good three-hour drive, where my youngest brother (who we took with us) kept asking why we didn’t just buy one from the lot in front of Cicis pizza.
Memories. Isn’t that something we love about Christmas?
Now that we have our own kids and they are old enough to appreciate the experience, we loaded up and headed north to the tree farms once again. Bonus: we live a lot closer to the farms now.
 While shopping for trees, my J and I fell in love with all the little trees they had. We decided we needed one of those as well and cut one to take it home.
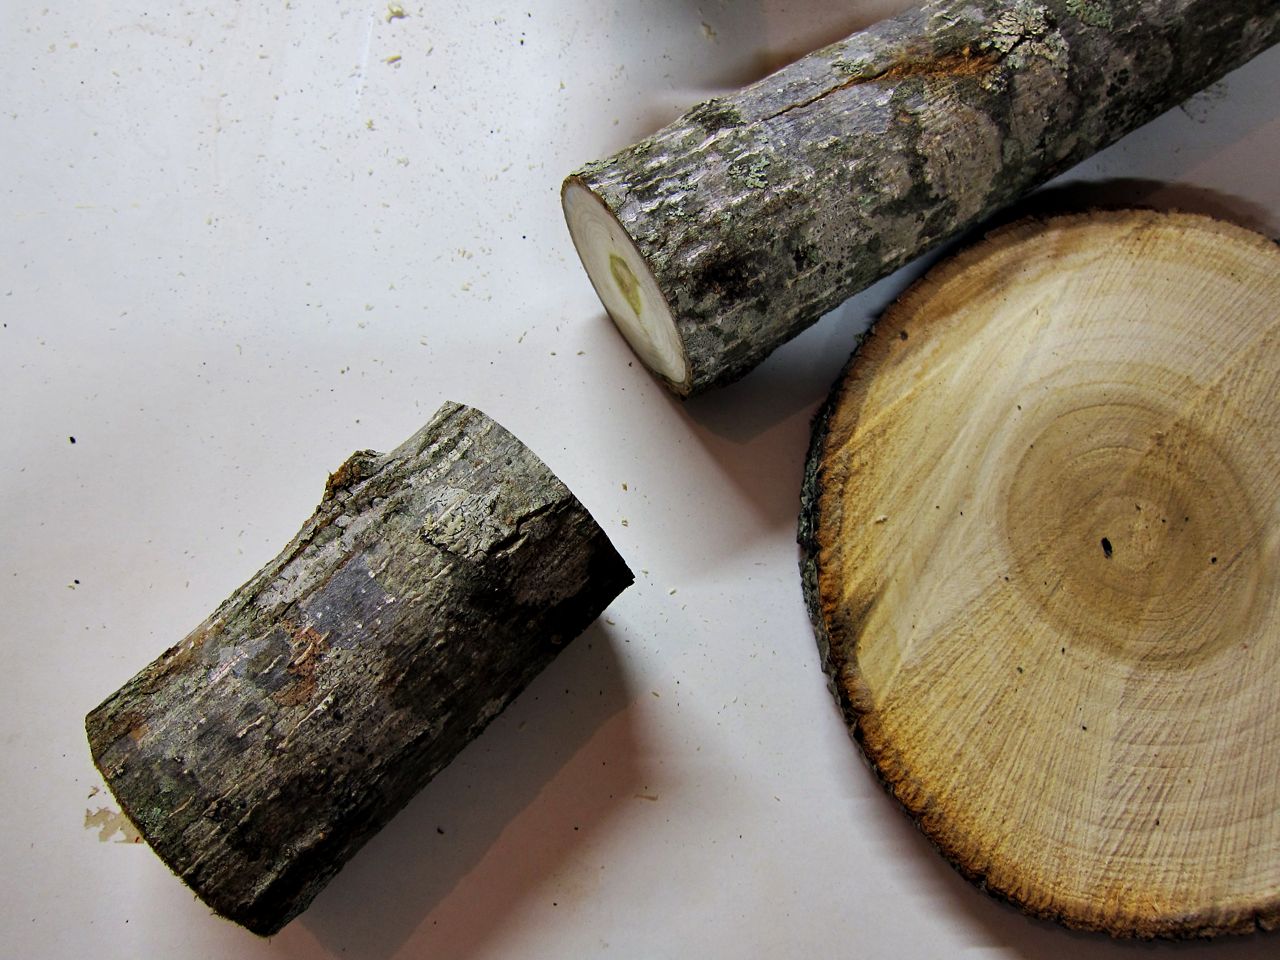
 I had visions of creating a wood box to hold the little tree on our front porch. I started out on my dream by getting a long 12″ piece of wood.
I used my Ryobi Compound Miter Saw to cut the board into 12″ square pieces. I then stained the five pieces I cut and handed my dream project off to my awesome husband.
He used wood glue and nails to create a wood box.
 Once the box was created, he measured for the middle and drilled a huge hole into the center of the box. This hole was wider than the circumference of our tree trunk, which was perfect.
 Matt is creative and took it even a step further than I had imagined. He screwed an old spaghetti jar lid to the inside of the box, so when the jar was twisted onto the lid, it could hold water for our tree. I was merely going to put a pitcher under our box to hold the water. Both ways work, so you could go whichever way you want, if you want to create this same tree stand.
 I love the simplicity of the design. It’s simple, yet so pretty. The natural look with a few shiny lights at night is so pretty.
 This wood Christmas tree stand looks so good with my wreath from a chicken feeder. I am loving the more simple decor we are doing around our house this year. I hope you too are able to enjoy the simple things this Christmas like the joy of finding your tree.


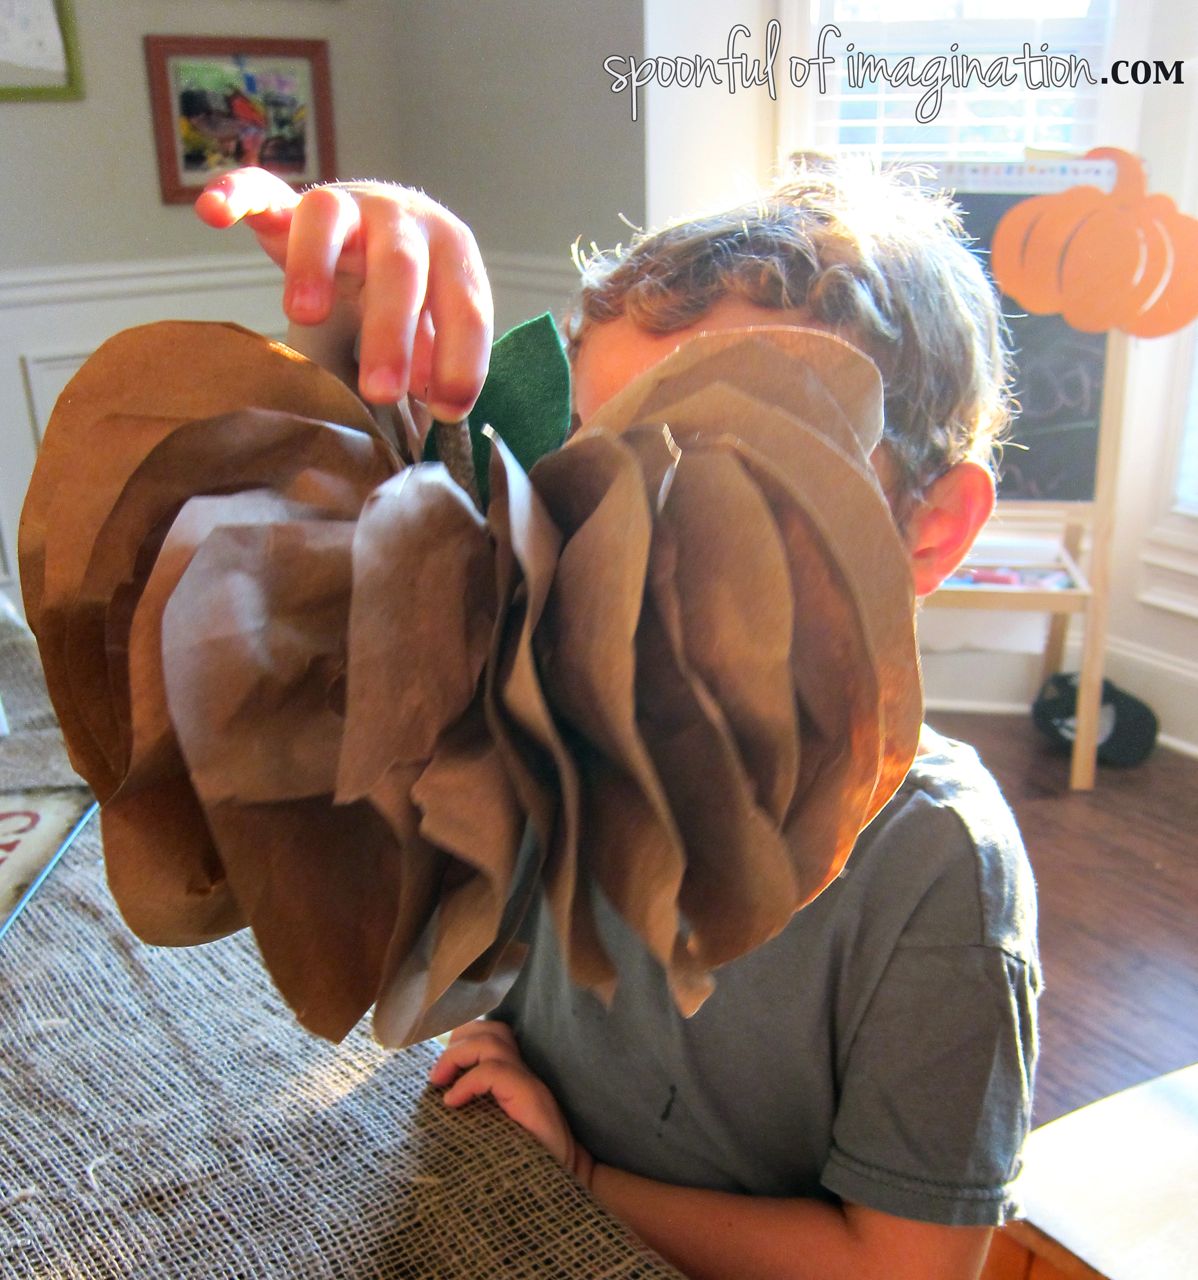
 Slowly, I started to pull the different pieces of paper out away from one another. This is a step that forces you to be some what patient. The moving paper is so thick that if I pulled to quickly the paper would rip.
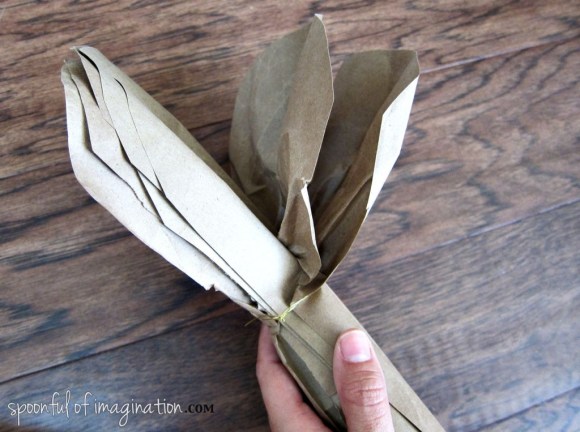 Once the paper pumpkin is fluffed, I glued the two end pieces (on either side) of the paper fan together to make the pumpkin hold shaped. I didn’t want it to separate back into a fan type shape, but I wanted it to hold the circle/pumpkin shape.
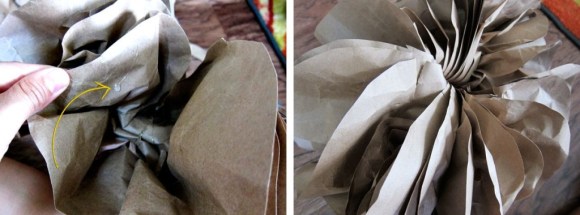 Our kids were really excited about seeing the pumpkins coming out, and they wanted to help in this project. I let them help fluff the pumpkin and to find a good stick
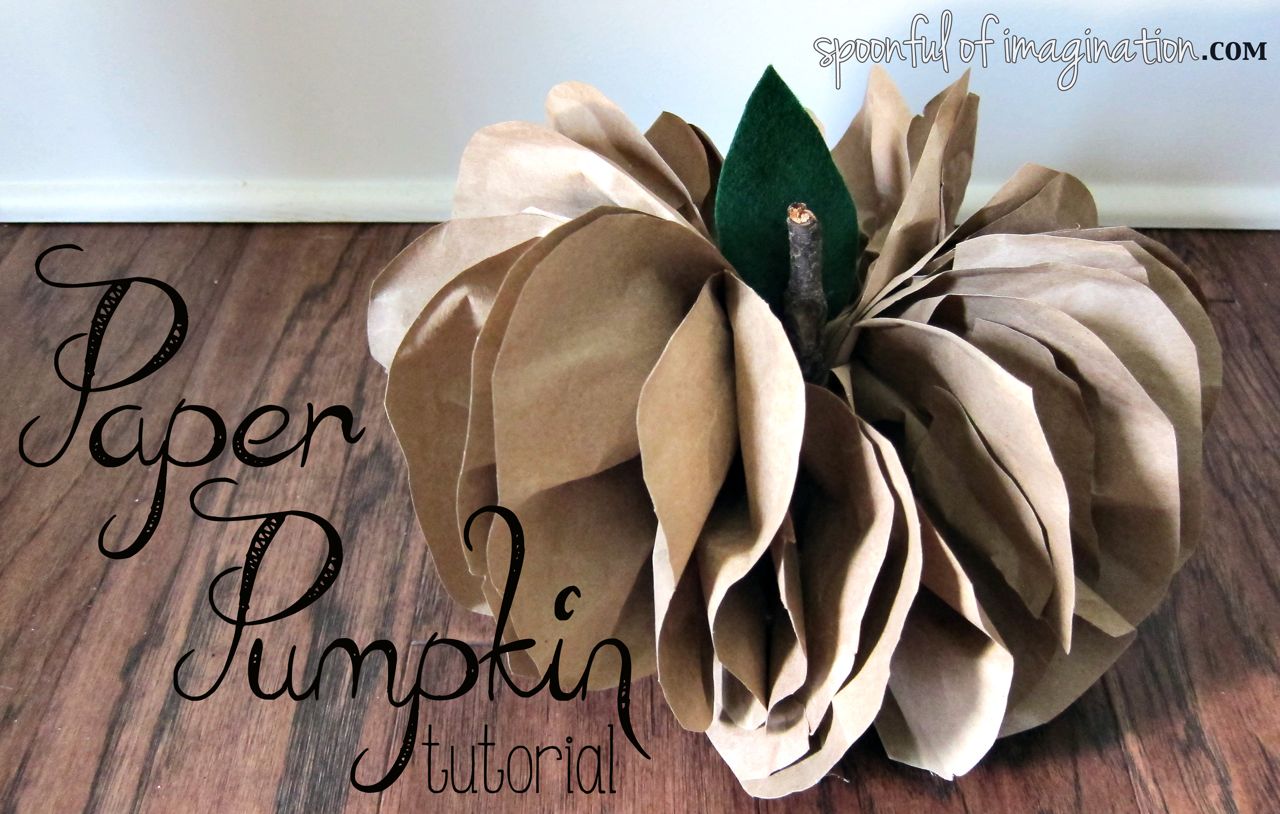
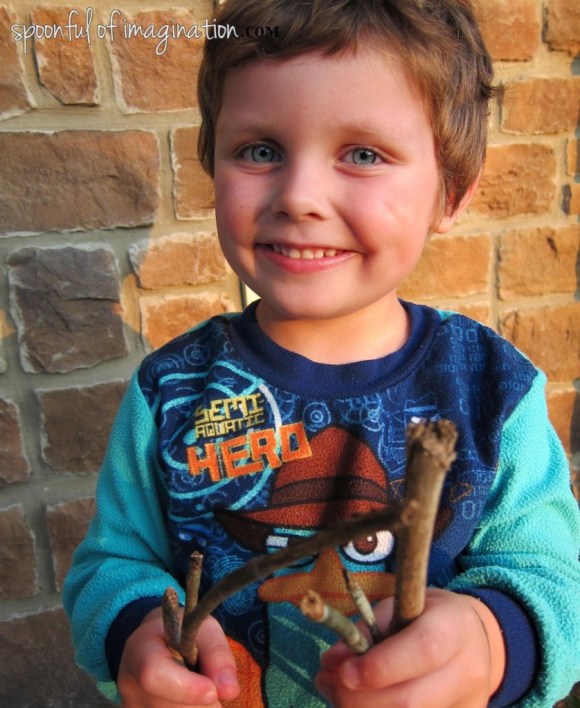 Once I had a good stick for a pumpkin stem, I glued the stick and a small piece of felt (that I cut to look like a leaf) into the center of my pumpkin. My paper pumpkin was than complete!