Do you have spring fever?
The sun has shown its face in Warsaw, Indiana this week. It’s making us want to pull out the flip flops and replace all the winter decor with spring and colorful creations.
As a kid, I think I might have wanted to be a teacher just so I could make the fun bulletin boards. Now, I have my chance at our art studio. I love changing out the mantel. After the sun this week, I took the winter trees down and needed a fun, inexpensive, spring idea to replace them. I came up with these butterflies.
 What’s cheap? Paper can be the most inexpensive way to decorate. I saw these butterflies in the school section of my local Dollar Tree. I snatched up several bags as soon as I saw them. An idea clicked, and luckily they had the butterfly net in stock too for my idea.
They had other animals as well! If you don’t have a Dollar Tree, I’m sure any local store that sells school supplies may have something similar.
 For every one of my butterflies, it took two pieces of paper. I simply folded one butterfly in half, placed a little hot glue on another butterfly down it’s center, and then pressed the folded butterfly into the glue on the fold line. Check out these pictures to see what I mean.


 That was it! I just used a little tape to put the butterflies in place on my wall.
These were so simple to make. If you don’t want the butterflies flying off your mantel like I did, you could use this technique to make a wreath, a card, a garland, or even as a party decoration.

 Are you ready for spring too!? Maybe you live more in the south and it’s already spring where you live. Have you pulled out spring decor??
 These paper butterflies were so cheap. The project could even be cheaper if you hand cut butterflies or have a die cut machine of your own. For me, I don’t have a machine and 32 butterflies for a $1 was so worth it.
If you end up using this idea, let me know! #spoonfulproject

 Do you have a mission in life?
 I cut my felt and fabric to create sweet ends and points for my arrows. This is a great way to mix patterns and colors. Your pieces could be all felt or felt on one side and fabric on the other. The big thing to note, is you need two identical size pieces for each part of the arrow. They create a front and a back as you will see in the following pictures.
 Once I had made a few of the end pieces of my arrows, I sewed all the identical size pieces for my arrows together. I could have just used hot glue, but I liked the look of the sewn pieces with stitches. The thing to be careful here is to keep an opening on the different pieces for a dowel rod or kabob stick (which are much cheaper!) to slide through.

 They were so fun to make! I am already dreaming of making more! There are so many possibilities for how to display these and the options for colors and patterns to use to create them.
 Now, if you are like me, and create something you are excited about (and you voice it), your kids may want to get on board and create some too. After I made these arrows, my kids wanted to make some arrows. I adapted this idea to fun paper and just using hot glue for them. I created a stencil piece and let them trace and cut out their own arrow parts. I let my oldest hot glue his own arrow, while I did the younger three kiddos’ arrows for them. They loved being able pick their papers and place feathers where they wanted too.
 How about you? Do you have a passion that excites you? Something you want your life to be marked by? I hope you can make a little arrow or something that helps remind you daily that the grinding moments matter!

 I picked up one card at a time and centered a heart onto the card by eye balling it in the middle. I then used my sewing machine and sewed the heart into place, just like I would sew any other fabric project.

 That is it! The card can be done then or you can get creative and use decorative scissors to trim the edges. I have several pairs of these fun scissors (thanks to a sweet reader for this gift ;)). I played with the different edges on my cards. I also played with adding more sewn lines to my heart. Both of these options let you get more creative with your greeting card. I had fun making mine with my trusty crafting sidekick.

 Now since my cards are not for me to send out, I created a small little tag that I wrapped around each card and envelope. I love how they came out.
 With a little time and colorful paper we can brighten someone’s day and make those defeated days a little sunnier. If you follow me on


 Slowly, I started to pull the different pieces of paper out away from one another. This is a step that forces you to be some what patient. The moving paper is so thick that if I pulled to quickly the paper would rip.
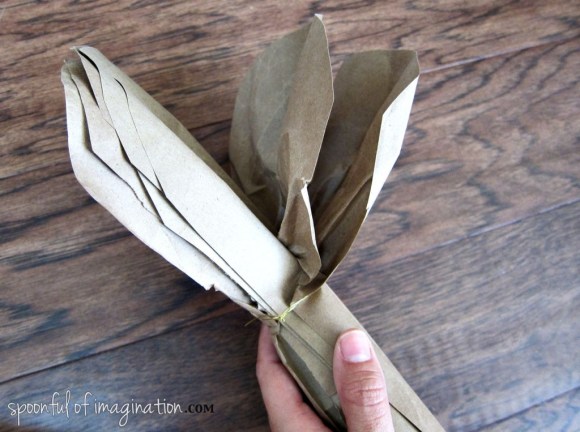 Once the paper pumpkin is fluffed, I glued the two end pieces (on either side) of the paper fan together to make the pumpkin hold shaped. I didn’t want it to separate back into a fan type shape, but I wanted it to hold the circle/pumpkin shape.
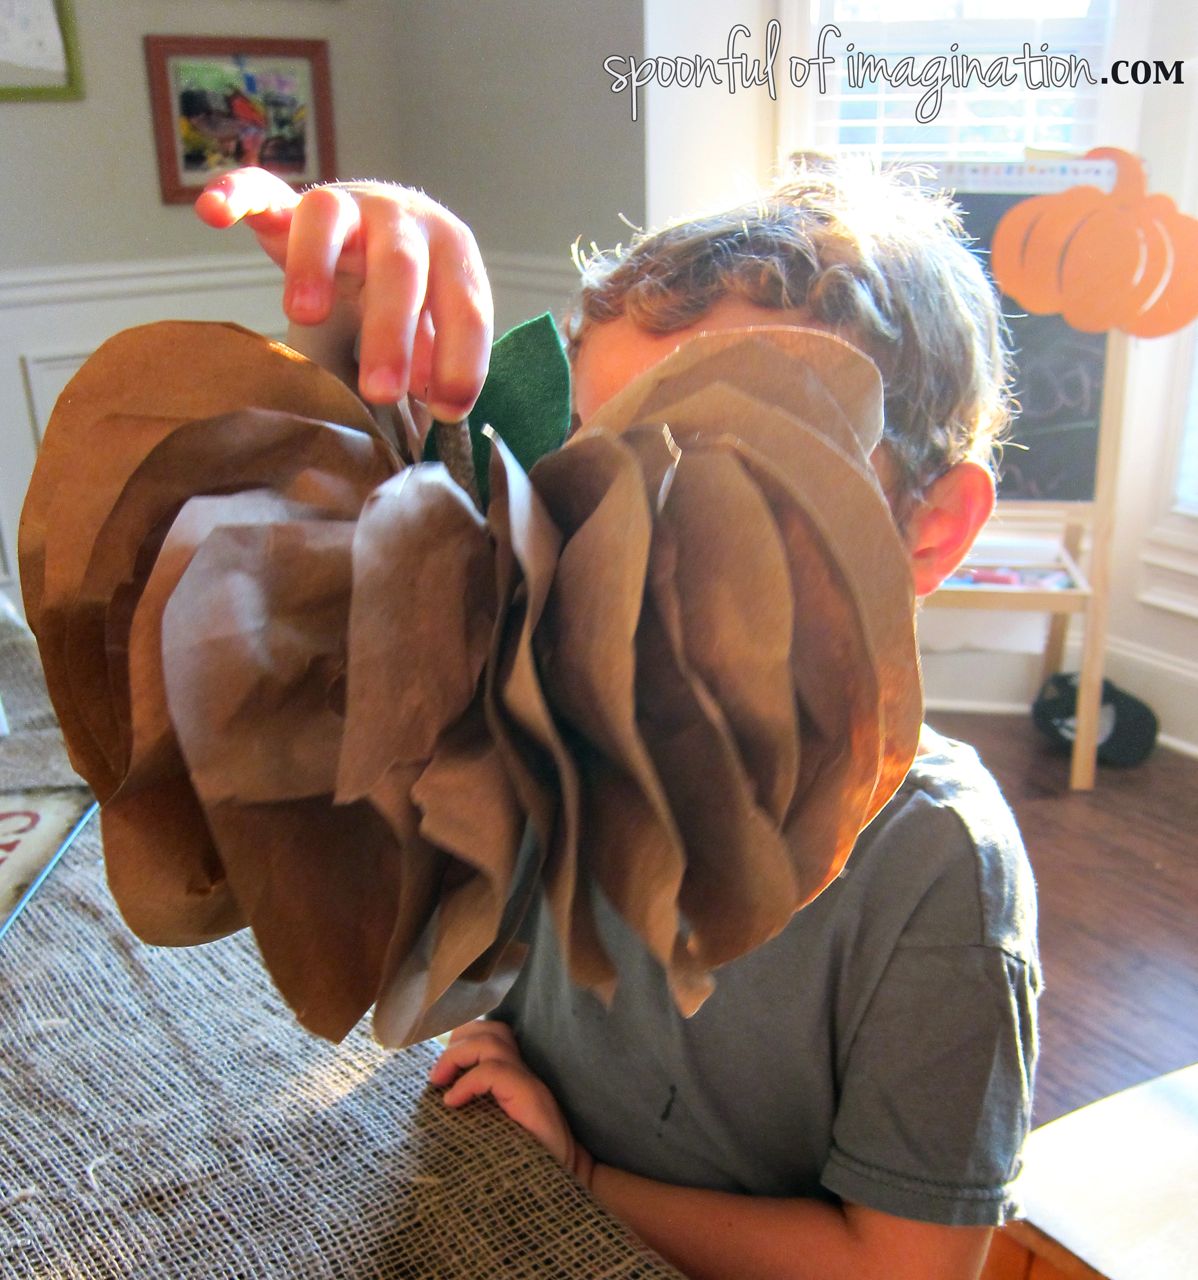
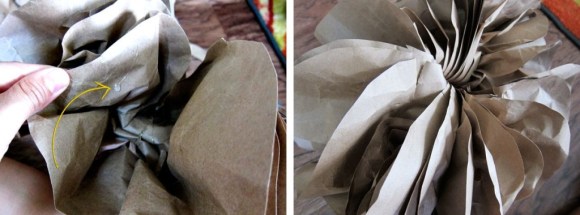 Our kids were really excited about seeing the pumpkins coming out, and they wanted to help in this project. I let them help fluff the pumpkin and to find a good stick
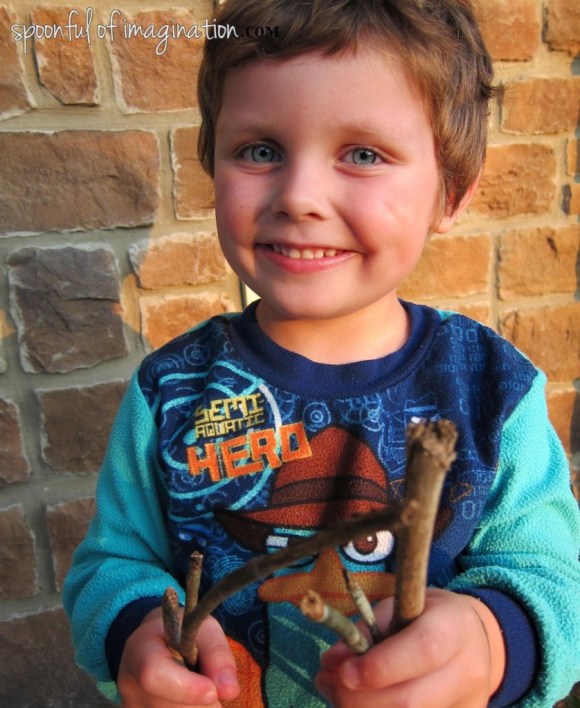
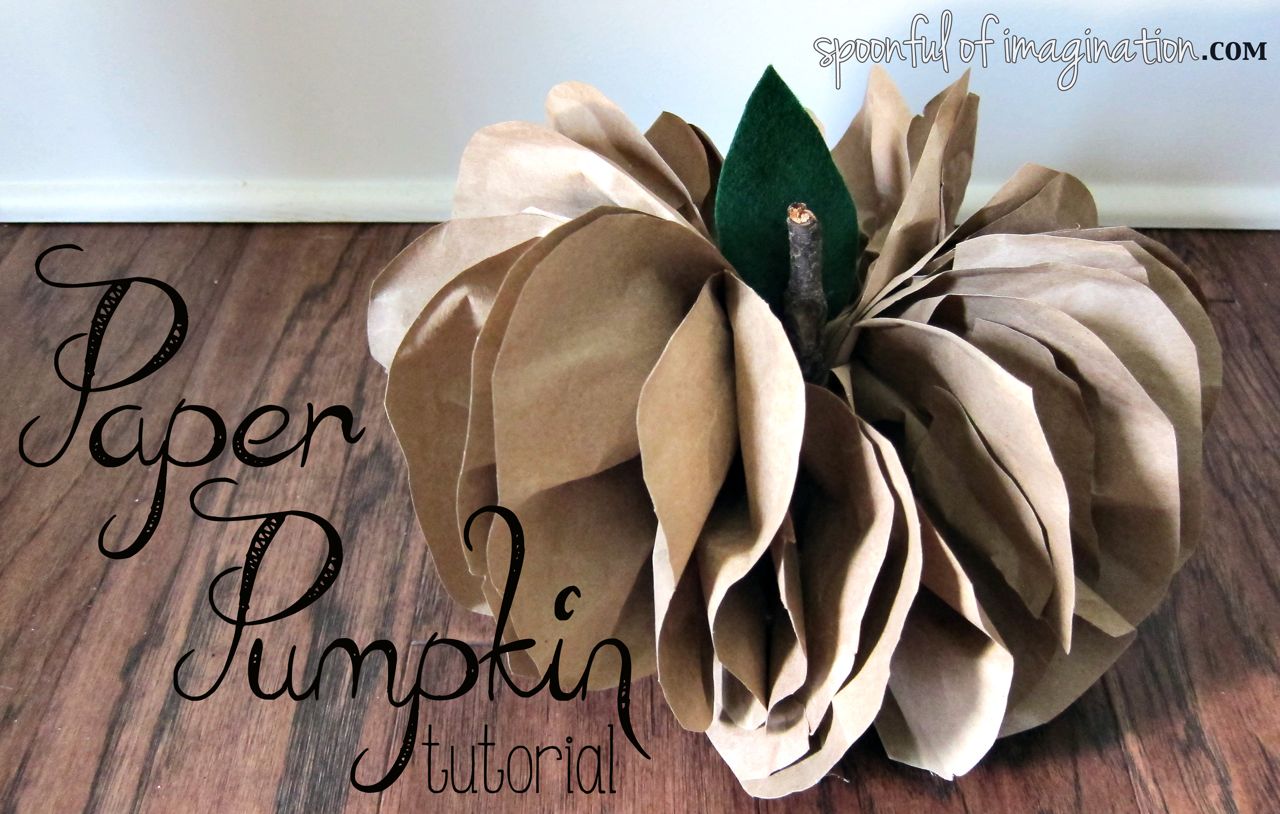
 Once I had a good stick for a pumpkin stem, I glued the stick and a small piece of felt (that I cut to look like a leaf) into the center of my pumpkin. My paper pumpkin was than complete!