 I find it funny how many items in our day-to-day life were made for one thing, but with a little imagination and ingenuity can be used for something completely different.
Your cell phone can be used as a camera, calculator, a GPS, or about a million other things besides a phone. I’ve heard dental floss can be used for fishing. A bandana can be used as a fashionable headpiece or a practical face mask… bank robbers anyone?
So why can’t a piece of carpet be used to make a bag? Well, I’m here to tell you that it can.

These beautiful rugs can be found at Walmart for $4.97 each. Incredible price, right!? I didn’t need a rug, so I stood there staring and thinking what could I possibly do with these beauties. You might remember my Rug Pillow. I decided I could always do that, so I picked three rugs out and quickly placed them in my cart.
After I walked around another aisle and saw the burlap/lace ribbon, I knew exactly what I wanted to create. Don’t we all need a HUGE carpet-bag? I love the thickness the rug creates as a nice sturdy bag, without needing a reinforcing liner. They are bright, beautiful and full of texture. Here is how I made my bag.
I started by folding one of my rugs in half and cutting the tag off it. Next, I folded the ribbon in half of what I thought would be a good length for handles. I wanted both sides of the handles to show the fun lace print, and by folding the ribbon in half you accomplish that and make them extra sturdy.
 I sewed the ribbon sides together and then pinned them to where I thought they would look right on my bag. I then tried it on to make sure I liked the length and placement of the handles.


 I was so excited. I almost rotated the bag around to make it a more horizontal bag rather than a vertical bag, but I decided I wanted the length this way as I have other bags that fit the horizontal shape. The vertical shape is different. I sewed the handles in place on both sides of the bag, so I had two handles.
 I tried stuffing my bag into my machine to sew the two sides of the rug together, but it was too fat. I was left needing to sew the sides by hand. It wasn’t hard, since there were only two sides needing sewn together (no need to sew the fold side).
I found a thick, sharp needle and used some embroidery floss to stitch up the side and bottom. When my floss ran out, I simply tied the end of the embroidery floss to another piece and kept going.


 Once my side and bottom were sewn, I flipped my new bag inside out and it was complete! This bag is huge! To show you the size, I took a few pictures of it with some of my favorite items.


 Matt jokes that the kids could use it for a three legged race. They could! I love the massive size and plan to use this bag a lot. If you wanted your bag to be smaller, you could easily cut your rug before you sew up the sides. I think this idea would also be great for laundry hampers or storage bins. I’ve seen poufs made from rugs too. The possibilities are endless when we use our imaginations and inspire one another to try new things.

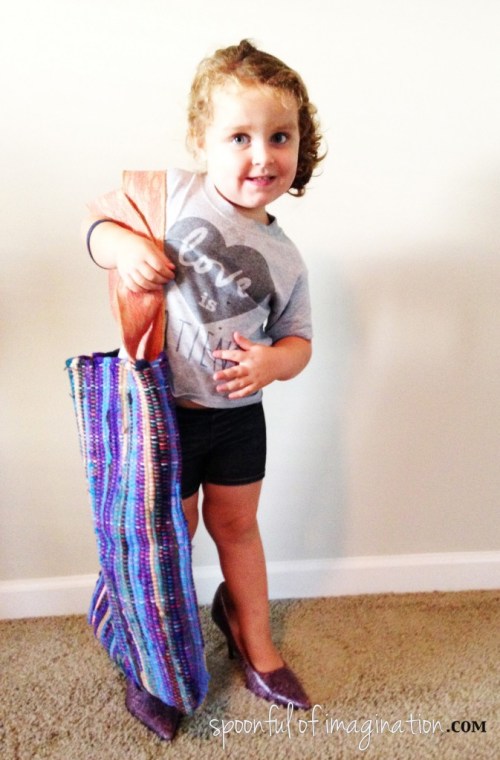


Isn’t Reagan just the cutest? She wanted to help me model the bag (and yes we are still wearing our Love is Patient Shirts). I wasn’t planning on using these pictures, but they were too cute not to share.
Would you ever make something from a rug? I’m playing around with what I should do with my other two pretty rugs I bought. Maybe more bags? Maybe new pillows? Or maybe something complete different!
I hope you had a great weekend! Thanks so much for stopping by!

It turned out super cute!
You are too cute! I purchased a couple of rugs to do the exact same thing last year. Do you think I have done it? Nope! I am so glad I have a tutorial to follow now. Ha! Thanks! I love the bag and how colorful it is – you Rock Erica!
Hahahaha you are too kind Angie! Thank you! I can so see you with one of these bags! let’s sport them at Haven next year 😉 XOXO