 I decorated our mantel last weekend for fall! I already loved how it was decorated, so it was a little hard at first to start messing with it at first. Now, I love it again! For someone who doesn’t like change, I can quickly adapt to holiday decor.
I wanted to share a few tips that helped me brainstorm this creation. These are tips and tricks that I used and thought through to help create this look. I hope they can help you too! After the tips, I will break down where I got each item or link to the tutorial.
1. Don’t be afraid to try something new! I had never stuck a huge piece of bark on my mantel to act as a vase.
2. Mix the different textiles. I used rustic natural elements (bark, pine cones, hay, acorns), shine (mirror, pumpkins), pottery (clay vase), burlap (handmade flowers), glass and metal (frame, lantern), wood and words (art in frame). Tip: Since I was decorating for fall, using outdoor elements naturally gave it a fall-ish feel.
3. Try to balance your colors. I was going with a more muted and fall pallet, but I made sure there was one pumpkin on the left and two on the right. That way there was a pop of color at both ends.
4. Try to use height. I like the mirror and the bark vase that added height to my mantel. It grabs your eyes a little and adds dimension rather than everything being the same height as if they were sitting on a boring book shelf. Although the picture frame is not the same height as the bark vase, it was needed to balance out the other side. The vase of burlap flowers alone was too short on that side alone. It looked neglected. Which brings me to my next point.
5. Layer and Layer your items! I have items overlapping each other other (like the hay is even hanging over the edge). My pumpkins are in front of the mirror and the frame is behind the vase. The frame almost looks like an after thought, but it was placed on purpose to add height and an added material that I had not used yet.
 I love how it all came together. I especially love that little pine cone bunting hanging down on the front. Our fireplace is so white, so the pine cones and added decor really liven it up. I got so into decorating it, I dressed up the little side table next to it as well. You can see I added a fun little owl, fresh flowers, and my rustic cake stand. There is the mix of layering, using lots of different textiles and materials.
 Since I already had almost everything the set-up only cost me $1.35 for the wood frame at a thrift store over the weekend. You probably have similar type things that you can reuse as well. Here’s the list of everything I used, where it came from, and a handful of links to DIY tutorials to a few of my items.
Wood Bark Vase: Gift from my dad that he found in his yard
Fake yellow flowers: Recycled from a center piece from my in-laws
Huge Mirror: Years ago at Walmart
Black Lantern: Ikea
Pottery vase: Gift from my sister-in-law
Acorns: Gathered at our old house & saved
Silver Owl & Tall brown vase with elements: Hobby Lobby
Tall lamp & Wood frame: Thrift store
Glass frame: Wedding present
Fall Subway Art free printable from the talented Erin at How to Nest For Less
 I hope my little fall makeover can help inspire you to decorate and reuse a lot of the items you already have in doing so! A spoonful of imagination can go a long way in decorating! Who would have thought a piece of bark could act as vase!? Think of the possibilities and have fun!


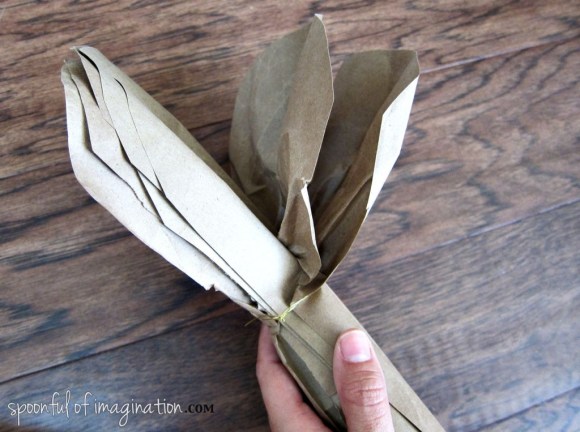
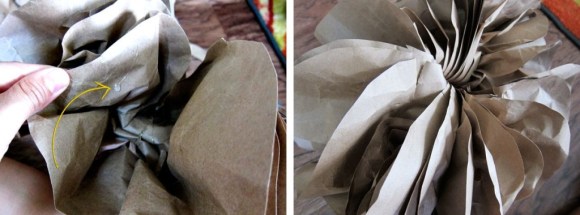
 Slowly, I started to pull the different pieces of paper out away from one another. This is a step that forces you to be some what patient. The moving paper is so thick that if I pulled to quickly the paper would rip.
 Once the paper pumpkin is fluffed, I glued the two end pieces (on either side) of the paper fan together to make the pumpkin hold shaped. I didn’t want it to separate back into a fan type shape, but I wanted it to hold the circle/pumpkin shape.
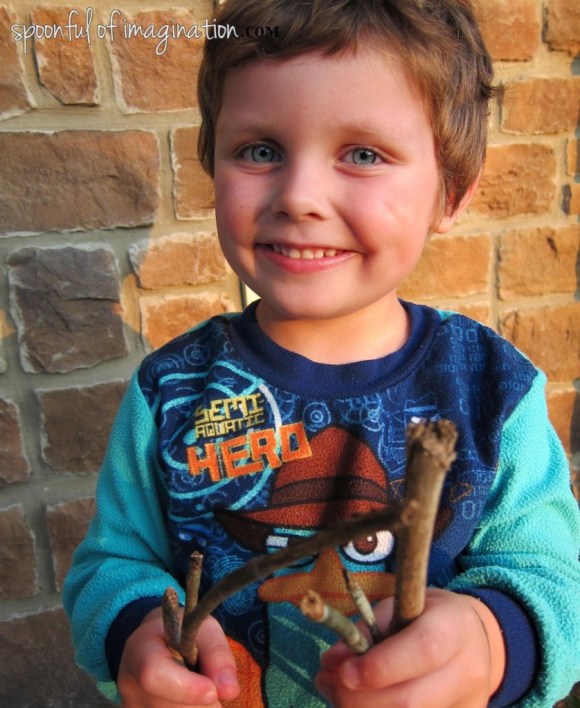
 Our kids were really excited about seeing the pumpkins coming out, and they wanted to help in this project. I let them help fluff the pumpkin and to find a good stick
 Once I had a good stick for a pumpkin stem, I glued the stick and a small piece of felt (that I cut to look like a leaf) into the center of my pumpkin. My paper pumpkin was than complete!


