 Discover Cozy Crafting Delights
Embracing winter’s warmth can feel like a contradictory statement, yet it is possible! Want to know a secret of how to help with the winter blues!? The answer is simple…yet not always easy. Create! Crafting during the winter months is more than just a pastime; it’s a gateway to warmth, creativity, and shared joy.
Three reasons why we should all be creating more right now:
1. Winter crafts bring an extra layer of coziness to our homes. Bonus: if you create something IN your home, you can enjoy it with all the extra time you are inside. I added some black paint to our TV console TODAY, as the picture above shows the final result.

2. From toddlers to adults, everyone can find joy in creating something beautiful. It’s a timeless activity that allows for self-expression fun! Check out my new kit in the shop for those sensory loving young artists.

3. Creating gives opportunities for meaningful connections. Whether it’s a family crafting night or a solo project by the fireplace, these moments foster connections, laughter, and shared memories. My eldest likes to create with pictures and videos. Did he go outside with me today in the negative temps for a photoshoot?? He DID! Running back inside the house was a fun moment. We now have a shared memory of this cold day.
To help make it easier for you to jump into creating, you can check out daily doses of my imagination here or pick up a craft kit for you or your artist in the shop!
In the spirit of sharing and creativity, I’m thrilled to announce that my “You” collection is now available for purchase online! Maybe there is a reminder you need or one you know a friend needs. I hope the beauty and individuality captured in each piece can inspire and encourage you and your people.
I have been creating more, as I embracing winter’s warmth with all the colors and images in my head coming to life!
My little art room is my current happy place, so I am sure you can expect more creations from me to be listed real soon! Give it a try with me, and create something today!
In it with you!
Erica
 Over the weekend, we were headed out on a little family walk.
 One of my family values

 What is an easy yes for you?
 These pictures help me see the world like Caleb does. What caught his eye, the angle he captured it, and even the placement of his subject is interesting to me.


 Maybe you already know what you value and what is an easy yes for you. If you do, I hope this is just an encouragement that it’s good to be YOU, even if you prioritize something others may not treat with the same weight.
 We’ve been enjoying a winter storm here in Indiana. The kids are going on day three of school moving from in person to e-learning for the amount of snow we have had. They estimate we have had more than a foot of snow in 48 hours.
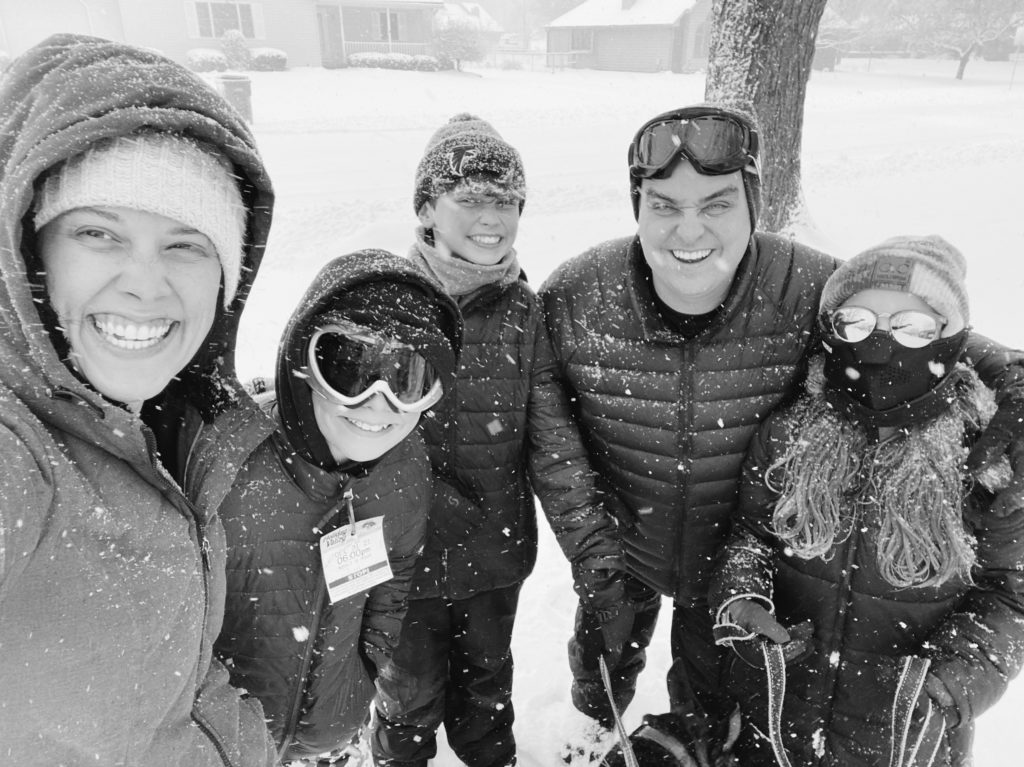

 Although we love the outdoor play, we have had more indoor play as well. It got us thinking that others might be looking for some indoor fun too. We thought we would share this fun and multiple step snowman project with you to encourage some creative fun in your home this winter. Gather a few supplies from around your home and join us to build a snowman!
 Once you have the supplies and are ready to create, the first thing you do is draw a snowman! I love how Reagan drew a two circle snowman and Jeremiah drew a three circle snowman that is zoomed in on, as part of his shape is “off” the page.
 After you have used your drawing tools to draw the snowman, then you are ready to paint a winter scene for the snowman to live in! Paint the background surrounding the snowman. You can ask your artist why you should NOT paint in the snowman. Hopefully, they value clean, white snow too.
 The final step is to embellish and add details to that snowman. We used scrap paper to cut hats and scarfs to dress our snowmen. You can also use your drawing tools from step one to add more details to the snowman or background.

 Wasn’t that super easy? This is such a fun project to do with a few students or a whole class! Just as a review the steps are..
 We had so much fun creating some indoor snowman. Jeremiah suggested that real outdoor snowmen are more fun to create. It’s hard to compete with snow, right!? But, if you too need some indoor fun, try this fun project. My artists are in 5th and 7th grade and they still had fun. We are never too old to play with creative tools! The pieces don’t have to be saved for forever. Stick them on your mantel for the season like we did, and then feel free to toss them out. The most important part is to to HAVE FUN!


