 Do you love recycling trash into treasures as much as we do!?
Art doesn’t have to be expensive. Using things you might normally throw away as art supplies is one way to create in an inexpensive way! Soup cans are one of our favorite recycling materials to repurpose into a fun craft. It is sturdy and strong and be a great base for something else.
Today, we are excited to show you how you can turn those cans into marbleized storage canisters.
![]() The first step is to collect your soup cans. We have gotten in the habit of just saving all our soup cans, so when a project idea arises, we are ready with cans on hand. I take the paper wrapper off our soup cans and run them through the dishwasher with our dishes to get clean. Once you have your dry cans, you are ready to create! We spray painted our cans white to have a nice matte base coat for this project.
The first step is to collect your soup cans. We have gotten in the habit of just saving all our soup cans, so when a project idea arises, we are ready with cans on hand. I take the paper wrapper off our soup cans and run them through the dishwasher with our dishes to get clean. Once you have your dry cans, you are ready to create! We spray painted our cans white to have a nice matte base coat for this project. 
 While the tin cans were drying, we collected our spray paint cans and filled a bucket with water. For each can, we choose two different spray paint colors. We added one color at a time.
All you have to do is spray the water with your spray paint color. The spray paint sits on top of the water. You then lay the can on top of the water and the paint will adhere to the can like a sticker might grab onto your hand. After one color was added, we simply looked at the can, maybe rotated it a little to figure out what side needed some more color, and did this step again with the second color of paint.


![]() The can comes out of the water looked marbleized and super fun! After you get the hang of it, you can play with how much spray paint you spray on top of the water to create a more thick or less thick look on your can. We had so much fun doing all four of our cans that we prepped!
The can comes out of the water looked marbleized and super fun! After you get the hang of it, you can play with how much spray paint you spray on top of the water to create a more thick or less thick look on your can. We had so much fun doing all four of our cans that we prepped!

 After the cans were dry, we used ours to hold art supplies. You could do the same or turn it into something else! A wind chime, flower pot, vase, or candle holder are fun ways to use your new canister too.
  You can personalize this craft using colors that fit your taste or the size can that fits your need best.
Sometimes it is easier to understand the steps to a project to see it actually happen. To see this craft in video form, you can watch the process on our YouTube channel here.
We love how quick, colorful, process art base, and inexpensive this paint technique can be! We had so much fun doing it to the tin cans that we bought some inexpensive raw wood candle sicks to paint this way too!
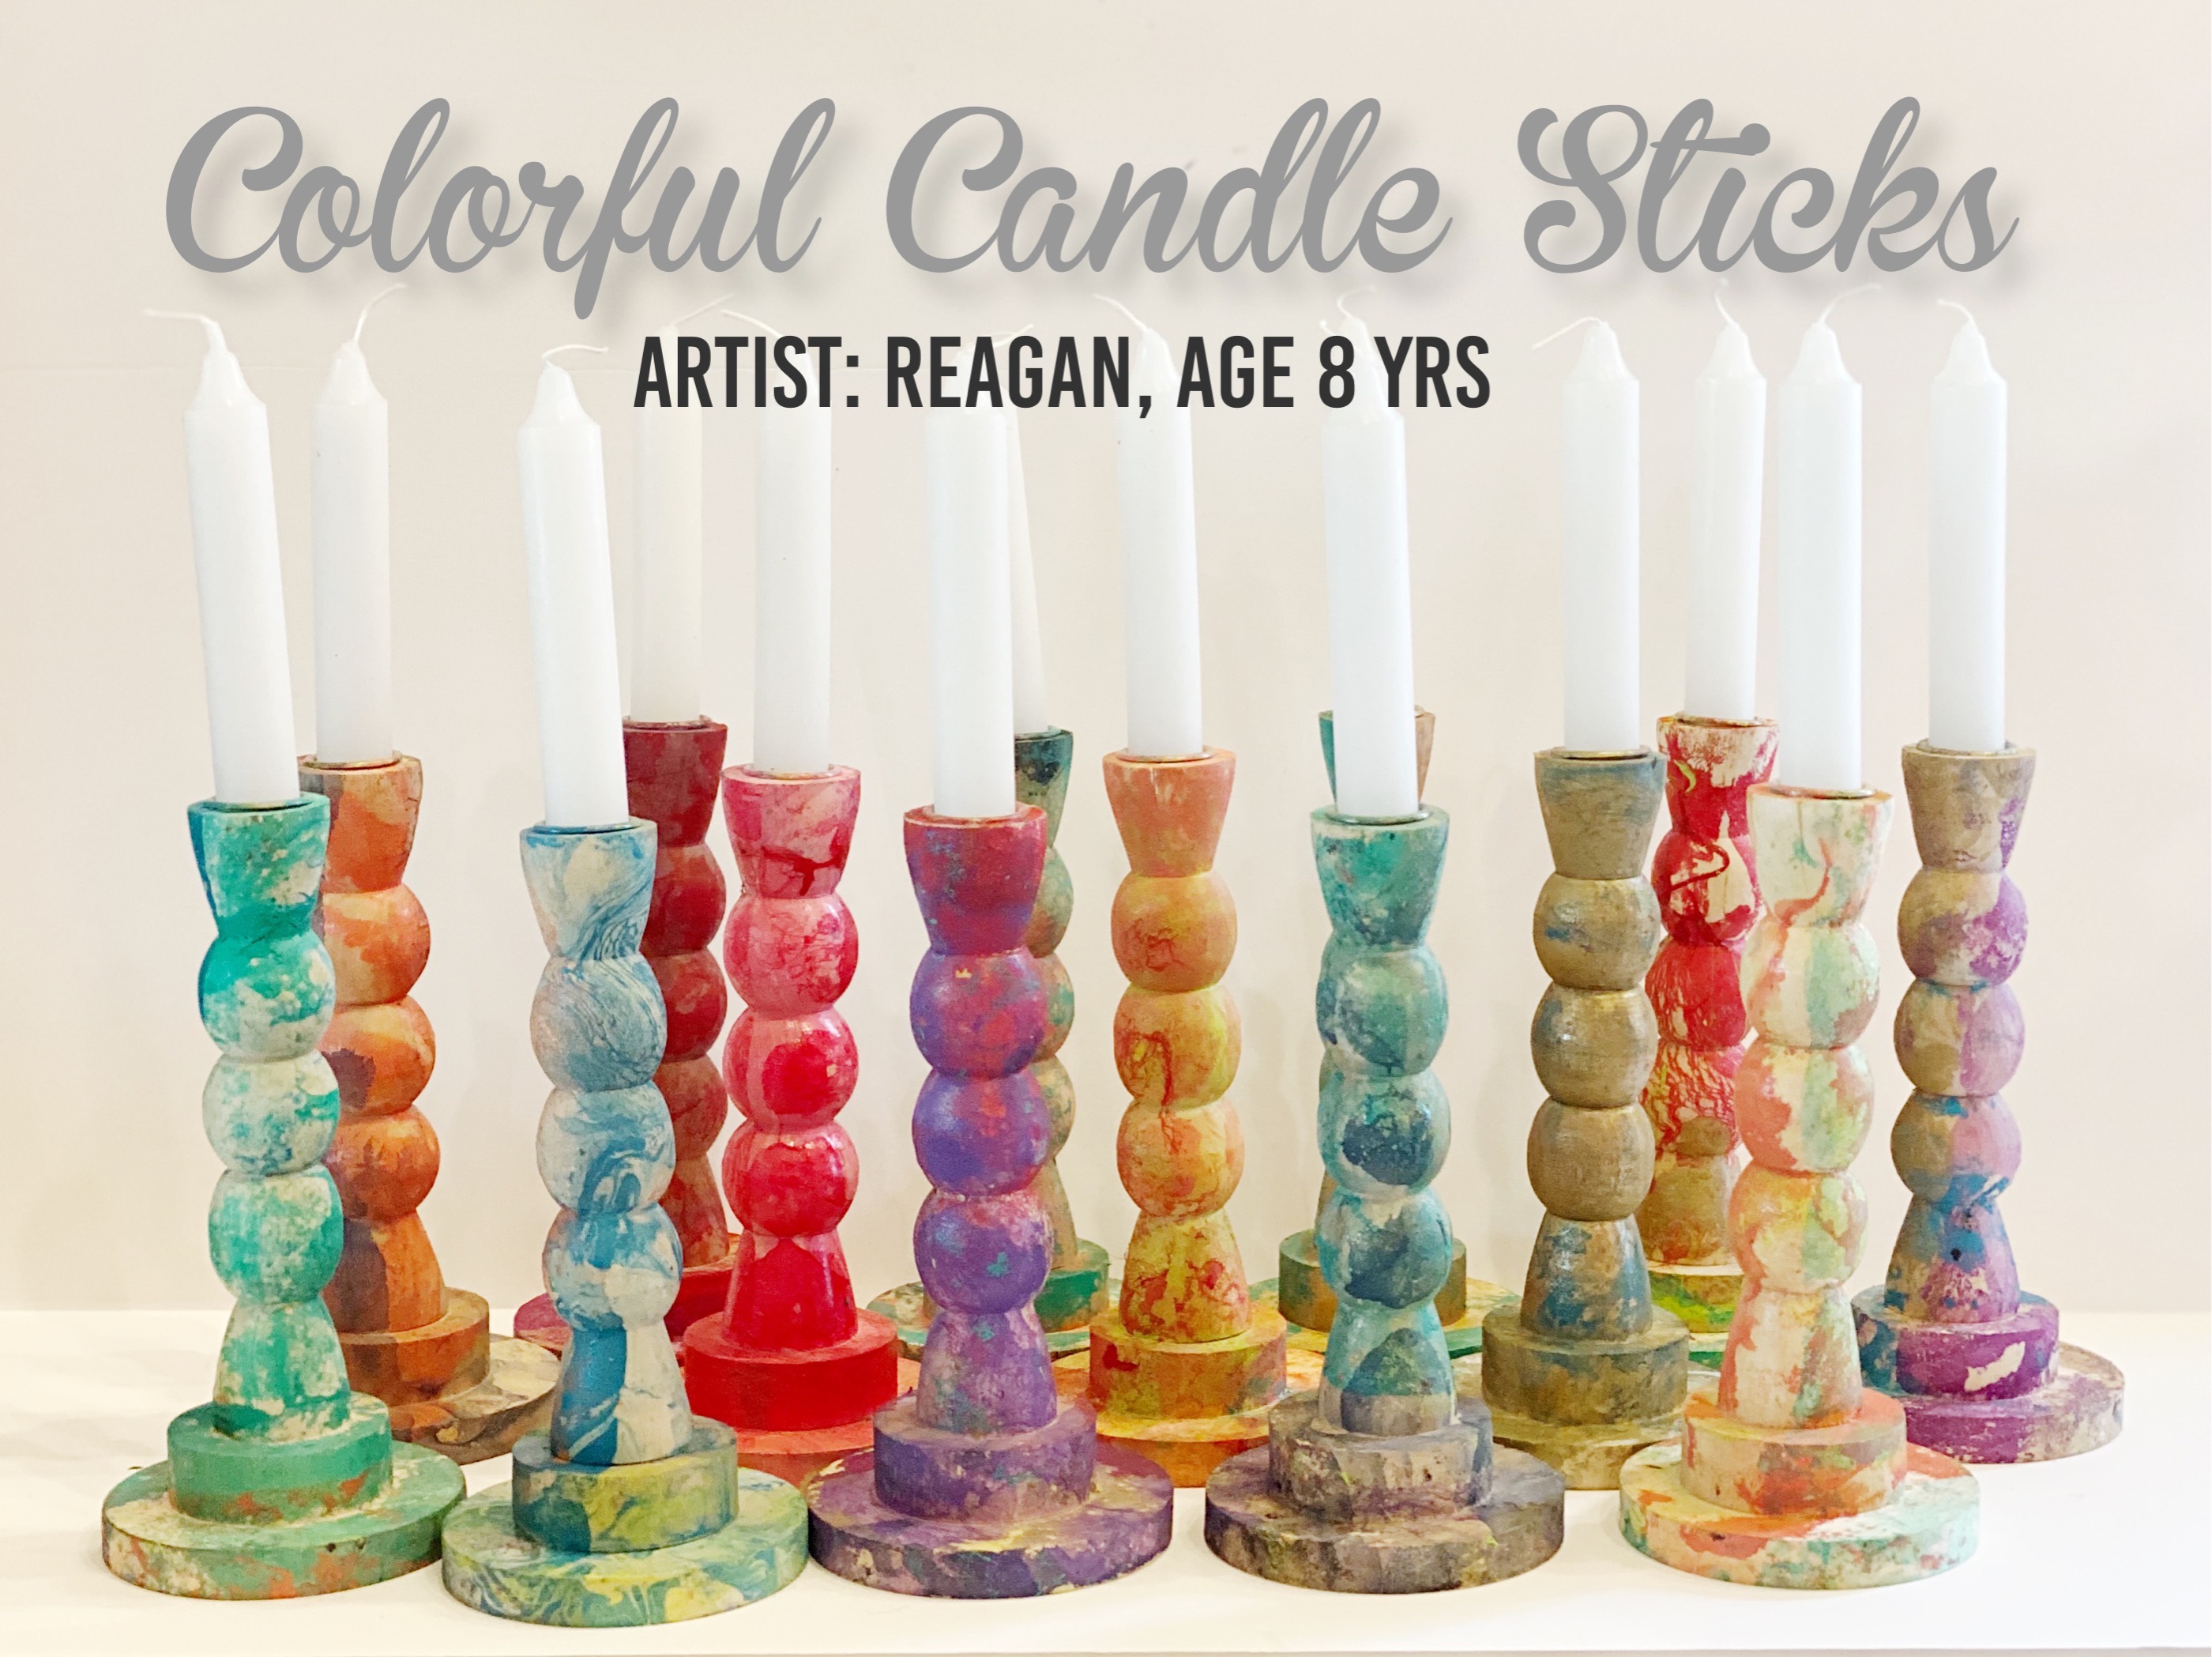 How fun are those!? We think they look like they belong on shelves in World Market or Anthropologie. We found some white candle sticks that make the colors pop even more, and we are going to use them as Christmas presents for family this year!
What do you think!? Will you try this paint technique? Do you like making Christmas gifts too!? We’d love to hear from you! Find us on social media by tagging us with your pictures #spoonfulofimagination
Thanks so much for stopping by!

 Want to add a pop of color in your house without purchasing anything new? This is a project you can do!
 Next, I pulled out a couple of my leftover spray paints that I liked and did a light coat of each color all around my lamp.
 I let each color dry completely, before I sprayed the next color. I overlapped the colors a little as I sprayed to create a natural ombre look.
 It’s always a little more challenging to do spray paint projects during the dead of winter. It’s been hovering around “Brrrr, it’s cold” to “I can’t feel my face” this past month. Which means spray painting is happening in the garage. While it’s certainly warmer than outside it still feels like “I’m losing feeling in my toes” after about 20 minutes. So all that to say, it takes things a lot longer to dry. Be sure to let your lamp dry completely, so you don’t get fingerprints or scratch marks on your new colorful project.
 Once your lamp is dry, add a light bulb and lampshade and you are ready to go! I love the way that my white lampshade looks with this new colorful base. It’s such a fun mix!
 I’m hoping this little desk and lamp helps me to have a focused workspace. Maybe it will help my kitchen counter from becoming an office.
 Do you remember when I made these
  I keep thinking about my Spoonful Lab and a huge smile comes across my face. It was so much fun. Yesterday, I showed you the
  When everyone arrived, they got to get a drink, browse my decor and supplies, and find a seat. They immediately got to mingle, talk and start creating a colorful fabric garland.
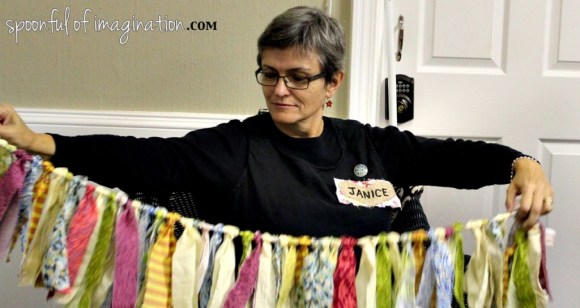 It was open and relaxed and I couldn’t have been more pleased. I loved seeing how although I explained some things…everyone took my instruction and put their own twist on it. I am so glad everyone felt the freedom to create what they wanted.
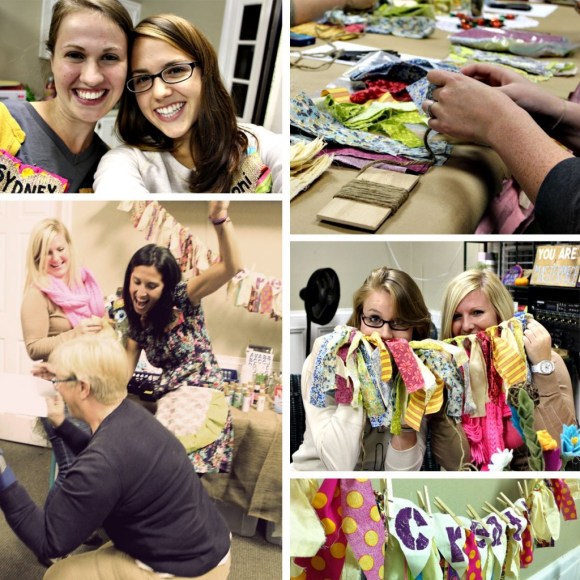 I love seeing the creative process take place, and being apart of it was just icing on the cake. These girls were creative and have skills!
 We enjoyed some amazing desserts made by my sweet friend and fellow blogger Libby at
  I shared some of my tips that I use and run through when I paint wood signs. I’ve walked you through a few techniques in different blog posts, but being live I got to babble and go in more depth. It was so fun to explain my creative process without having to worry about how many characters I said it all in. I loved it.


 I loved to see the different personalities come out in everyone’s work. We had so much fun!

 Don’t feel bad if you missed out on this one. There is another lab coming! I am already dreaming and planning for my next event. On December 5th, I have a lab in Alpharetta, Georgia.
  We are going to create a white feather wreath that is perfect for your Christmas decor and can even carry over into the new year for winter. We will also be creating some Christmas ornaments. This will be a great chance to get out with your girl friends and have some fun and laugh, after (I’m sure) a crazy Thanksgiving weekend. Sign ups are now live! Please go
  Everyone’s earrings, magnets, bookmark (that also acted as our name tag), and card were slightly different. I think they were a hit. I am already planning the next bag of goodies. If you would like to get your hands on the swag items above, please leave me a comment below. I will randomly select a winner this weekend. I would also LOVE if you share my graphic for my Handmade Christmas party around.
 The first thing I did was buy some cheap premade aprons. These go for $1.99 at Hobby Lobby. I got mine when they were 50% off. I know you can buy this same sort of thing at a lot of dollar stores and Home Depot as well. I also found them
 After the spray paint dried, I simply picked up the lace, and I had a really pretty decorative pattern on my aprons. I then cut three-inch wide strips of fabric and sewed them on to the bottom of my apron in the same way I did my
  I hope you are having a great week! Thank you so much for stopping in to check out this easy DIY!