
I have been wanting a rustic, vintage United States map for in our home. We love to travel and are constantly talking about different states and who lives there, what grows there, what its known for, etc. It would make it so easy to be able to point the states out to our kids as we talk.
I found this cool map for $5 and was pumped. I knew I wanted to make a cool frame to go with its look, and so once I got my Ryobi Sliding Compound Miter saw to review, I knew it was the perfect project to try it out on. You can read all about what I think of my new saw here.
My first step was to pick four pieces of wood from our pile of old collected wood. I chose four pallet pieces that I loved. Each one has either a huge knot or nails in it. They look old and have an edge. They were perfect.
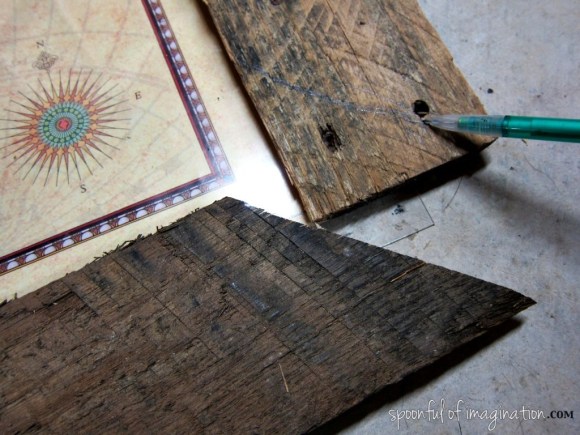
 I laid them out around my poster to measure how much they needed cut. I placed each one carefully to figure out how the bent, warped wood would look best on side and placement. I didn’t want to have to make a cut where nails were, so I took all those things into consideration when I figured out which board would go where.

Next, I rotated my saw to make 45 degree angles. The laser on my Ryobi Sliding Compound Miter saw helped me make these accurate cuts for sure!
 I also used a pencil and drew a line for the direction of the angle each piece would need to be cut. Otherwise, I kept going back to my frame to figure out if that 45 degree angle needed to go to the right or slant to the left.
 I did one board at a time and went around clockwise till my whole frame was completed.
 I then cut four small 90 degree triangle pieces from other scrap wood we had on hand. These I used to hold the actual frame together as well as hold the plastic protective cover, poster, and backing of another old poster frame in place and create the frame. An important tip at this step is to have big wood clamps that can keep your pallet poster frame in place while you get the other three layers in place.
 I then used wood glue and screws to hold the 90 degree triangles in place.
 I added a little hanging bracket at the top in the center and my new pallet frame was almost done!
 I sanded the edges to get rid of some of the obvious splinters and used wood stain to stain the 90 degree triangles on the back. This way when my new art hangs on the wall, they will not stand out as eye sores. I didn’t end up staining the front pallet wood though because I loved the natural color of the wood. The old nails and knots still are my favorite pieces of this frame. Take note in the picture below how it was important to measure the cuts before I went to cut the boards. I was very close to getting nails.
 Have you ever created anything with pallet wood? It is strong treated wood that makes for great projects!


