
Today, I have an easy DIY rope ball craft for you. I created these pretty rope balls from Dollar Tree supplies At the end of this post, I will show you a simple change you can do to make the same type of ball have another use.
These balls were inspired from my Savannah girl’s weekend. Do you remember seeing this picture from my trip?

While we were out shopping, I fell in love with these rustic rope balls. They were about $8.00 a piece and I knew I could make them cheaper. I finally attempted to make them, and I love my product. Here is how you can do it too.


I went to my Dollar Tree and bought yellow boot laces, two packs of clothes line rope, and a package of styrofoam balls. I ended up also getting a package of styrofoam balls from Hobby Lobby to have a slightly larger size. Note: I love the clothes line rope! It is perfect Christmas colors to help decorate my house for Christmas. Plus, there was so much of it for only costing $1.00 each! Score!

I started by hot gluing the edge of my rope onto a styrofoam ball. My technique was to add a strip of glue and then lay the rope on top about two inches at a time, going down one side of the ball. I simply wrapped my ball with glue and rope going around and around to create the look of swirls.

Once my “swirls ” of glue and rope were getting smaller as I was getting near to closing the side off, I simply cut the string, added a big glob of glue, and tried to stick the edge of my rope into the glob of glue (in order to cover up any styrofoam from showing).

After you have one side complete, add a little glue at the top and start wrapping down the ball again (until the ball is totally covered up). I made a lot of these, but I still had a ton of rope left over!

I think they came out so cute, and yet were so easy to make! They cost so much less than their store look a likes.


My kids are enjoying throwing them all over the house. It is nice to have a Christmas decor item that is not “breakable” or off-limits. They can throw these and they wont break or get damaged. Unless they throw them at something that might break 🙂. I love red and green and can see myself keeping them out all year-long and not limiting them to just Christmas.

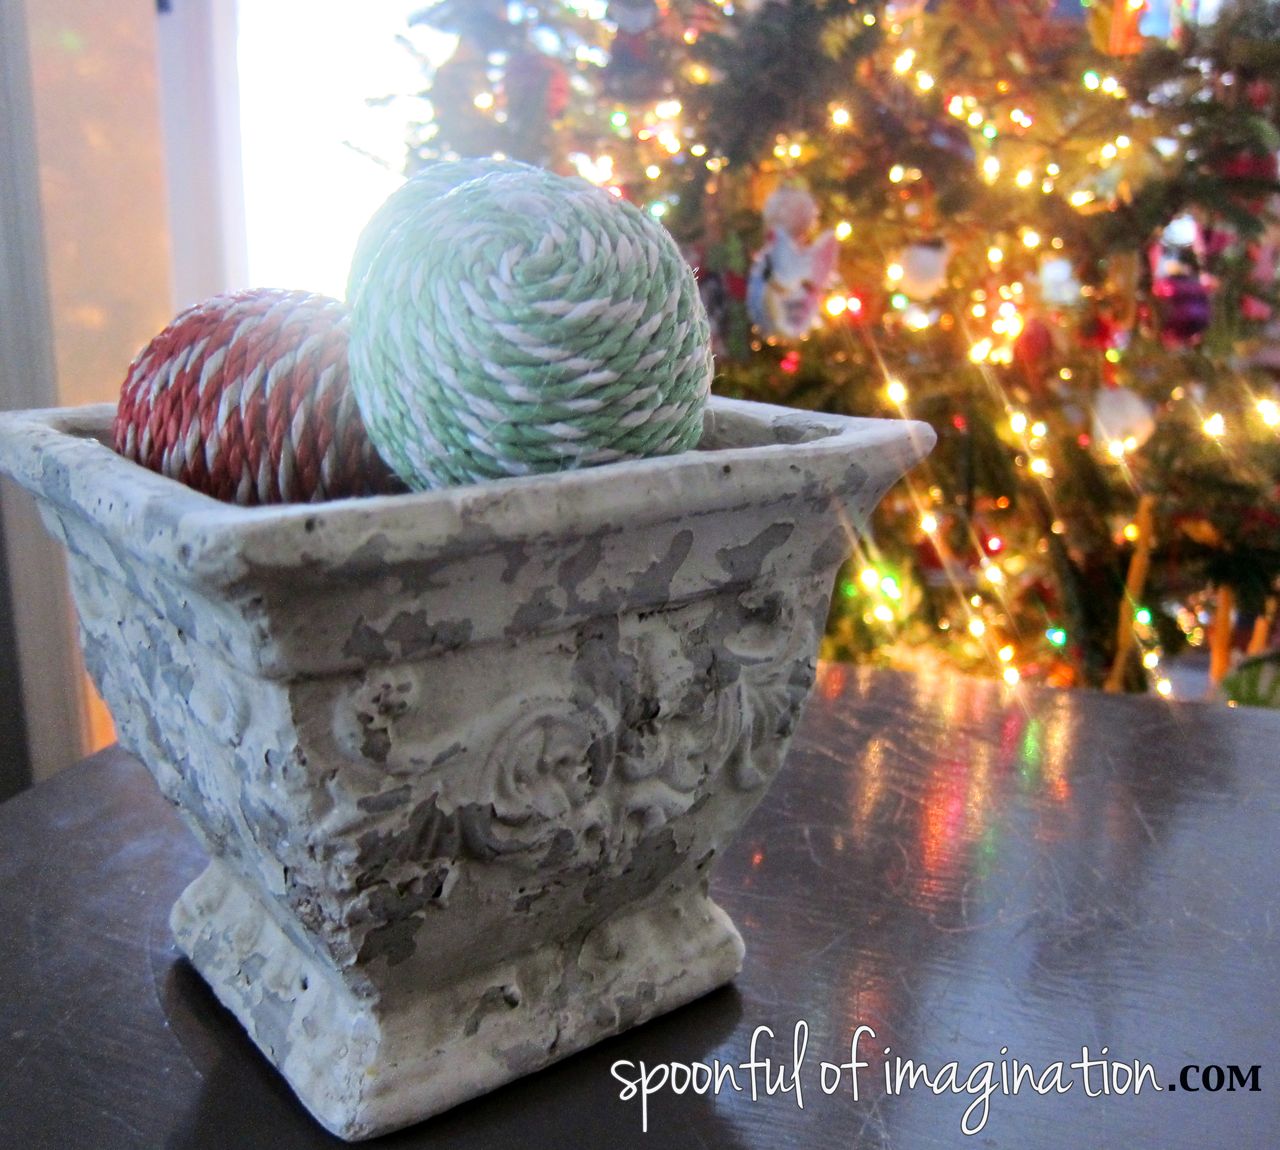
Although they are a rustic/child safe decor item, you can dress them up and display them in a fancier planter for a more elegant look.

My son Caleb told me this planter looked dirty as I put it in my shopping cart this week. Oh don’t you love a child’s practical thinking!? It does look dirty, but I love it! I think these rope balls would even look good in a glass vase like I did with my red ornaments on my Christmas mantle.
Since I had so much left over rope, I decided to get some more styrofoam balls and twist this idea into something that would make great Christmas gifts! I made some rope ornaments! My sister Joni, came over and we sat, talked, watched White Christmas, glued rope ornaments, and almost peed in our pants from laughing so hard. It was a fun night!


The only difference really from just making the rope balls is adding a piece of string, rope, or ribbon first, so there is a way for your ornament to hang on the tree. We started by cutting a small piece of rope and gluing both of the ends onto the ball.

We then did the gluing technique to add two strips of rope around the ball. After we had our rope surrounded by the clothes line rope, we simply went down wrapping one side just like we did the ball. From there, you complete the ornament just like you did the ball.


They look amazing just plain, or adding a simple string bow is cute too! I think they make such a cute little addition to any gift and look great on the tree! They are so simple, yet the rows ans rows of string add a fun texture to a rather normal style of a round ball ornament.
Do you add a personal touch to gifts? Are you making any gifts this year?
Thank you so much for stopping by! I hope you have a wonderful weekend!

Linked up to: Shaken Together, Inspired by Charm, Funky Junk Interiors, Shanty 2 Chic, Miss Information, The Frugal Homemaker, DIY Show Off