
Do you have a hard time throwing some things away? There are lots of things I don’t think twice about. Clothes, pillows, dishes are few that I don’t blink an eye at. Maybe one of those are the thing that’s hard for you? For me, I definitely have a hard time throwing wood things away.
Wood seems timeless. It can be painted, stained and built onto and is such a sustainable product. Recently, my Jeremiah was cleaning out his closet and found this wood marble run toy. He didn’t want it anymore, and I kept looking at it thinking there has gotta be something I can create with this old toy!
I looked at the size of wood. They were perfect fun, block size pieces.
I looked at the texture. They were smooth, already sanded, sturdy pieces.
As I stared at the pieces, I realized I could turn them into a recycled candlestick holder.


Recycled Candlesticks Make Fun, Quirky Decor!
I found a wood circle in our garage to be a bigger base and gave that a quick sanding. I then added a little superglue to hold the pieces together and let them dry. I had so much fun moving the pieces around to see what size and angle I wanted them to be. The candlesticks looked really pretty just left as wood, but you know me. I love color, so I added some acrylic paint to jazz them up a bit.

After the recycled candlesticks were dry, I was ready to display them and enjoy! I love mixing homemade decor into our home. These added a fun element to our kitchen table.


I love how they look in my office too, so only time will tell on where they officially end up. How fun are they!? I made something new from something that was almost just trashed or donated away.
My favorite ways to get creative are often to use something that is not expected. I like to use things we wouldn’t find in a craft store.
Being creative is just a process of pairing ideas.


The Creative Process Doesn’t Have to Be Expensive.
We all have things we can repurpose and reuse to make something new.
One way to see things in a new way is to make sure our tanks are full. We can’t be operating on fumes, lack of sleep, deprived of things that bring us joy to have eyes to see things differently. It takes space to have energy or margin to think differently than our auto pilot normal.
That is the most expensive part of the creative process. It requires us to be more whole to think creatively.

I am so excited about my new recycled candlesticks. Now, my mind is going trying to think of other things that would make great candlesticks. Fall is a great time to light some candles to bring some warm and comfort inside as the world is getting colder on the outside.
So, do you have something you can look at with new eyes and make something different out of it? If you need help with this, join us in my 30 Day Imaginative Journey. We are practicing small, quick exercises to get us thinking and practicing growing our creative muscles! Download your free calendar here!
Check out what my Reagan made for her Halloween costume out of trash, which was from one of the imaginative prompts!


 What do you think about the fur craze?
 The first thing I did was use some pliers to pull the little staples out that were holding the cushion in place. I was excited to see the foam was in good condition, so I decided to reuse it. I gave it a Lysol scrubbing to make sure it was clean and set it aside.
 I then spray painted thin coats till the stool was covered with a pretty dark teal.
 I bought a couple small faux furs in the craft aisle at Hobby Lobby. If you are a regular there like I am, it is down the felt aisle and costs around $2-$3 a piece. I sewed two pieces together to make one larger sheet of fur.

 I laid the foam back on the stool, figured out where I wanted my seem in the fur to be, and started using my staple gun to attach the fur. After getting one side secure, I stretched the fur across the stool, trimmed some of the excess and then started stapling the rest of the fur in place.

 Once the fur was complete, the stool did not give me the “fun” look I was hoping for. I decided to use some paint tape to tape off paint lines to add gold paint to the stool’s legs. That was just what it needed.
 I love how it turned out! It is such a fun eye catcher. The mix of texture and neutrals with a pop of color is exactly what I had in mind.
 Reusing a tired old piece to create something beautiful is so fun. It’s one of my favorite crafts to do.
 My little Reagan has currently claimed this stool and moves it from room to room. Today, it lived in our sun room where we do most of our school during the week.
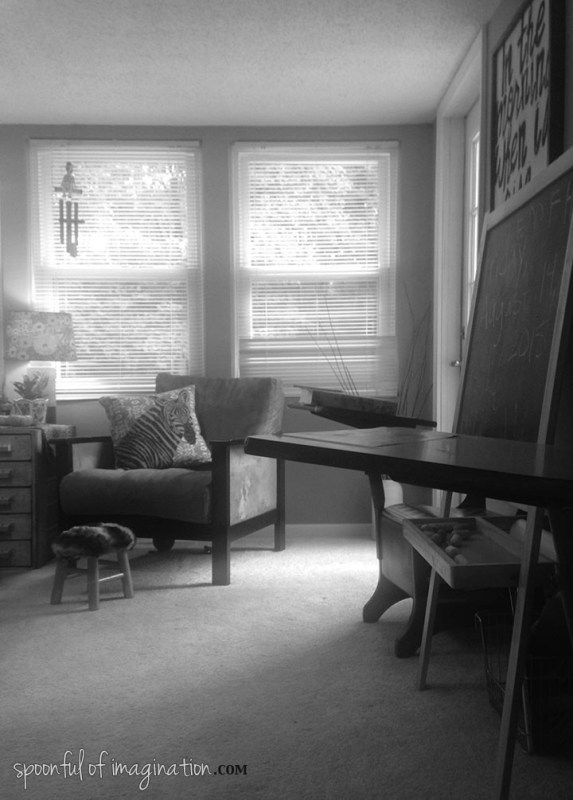 If you’ve looked into fur pieces, you know that they can be pricey. I think this stool cost me about $7, since I already owned several of the supplies. Creating something can be so much cheaper.
 Today, I have a funny little tale about a lamp.
 Yet, it was missing something.
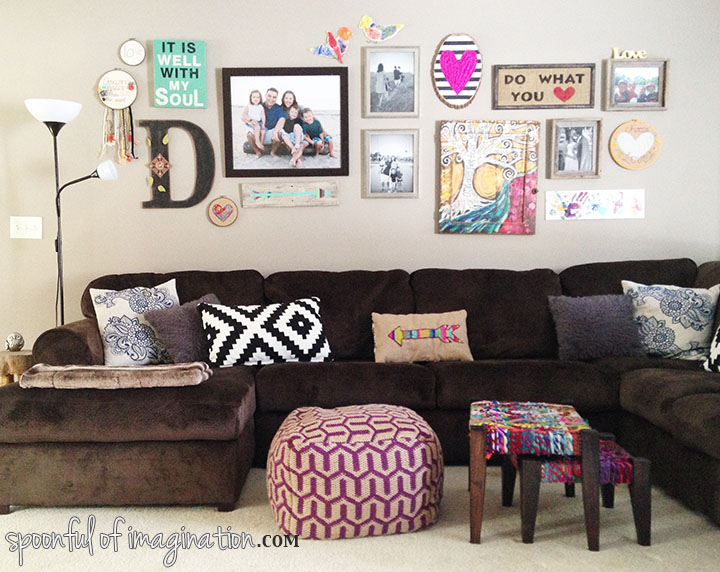 I felt like it was trying to take over my gallery wall or at least be apart of it. The big white shades were distracting. I wanted something that did the job, but maybe a little more aesthetically. This lamp had to go.
 Then I fell in love with a lamp in a store front here in our little town. I thought it was a perfect match. After weeks of trying to get to the store, I finally got in only to find out that the lamp was not for sale. So sad.
 I came home with new shades and light bulbs excited to try the switch.
 It was that easy. They were a perfect fit. Immediately I knew it was the right lamp. I didn’t have to get rid of it after all. The recycled lamp gave off light, yet it did not look like an addition to my gallery wall, but if it did-I would be ok with that.
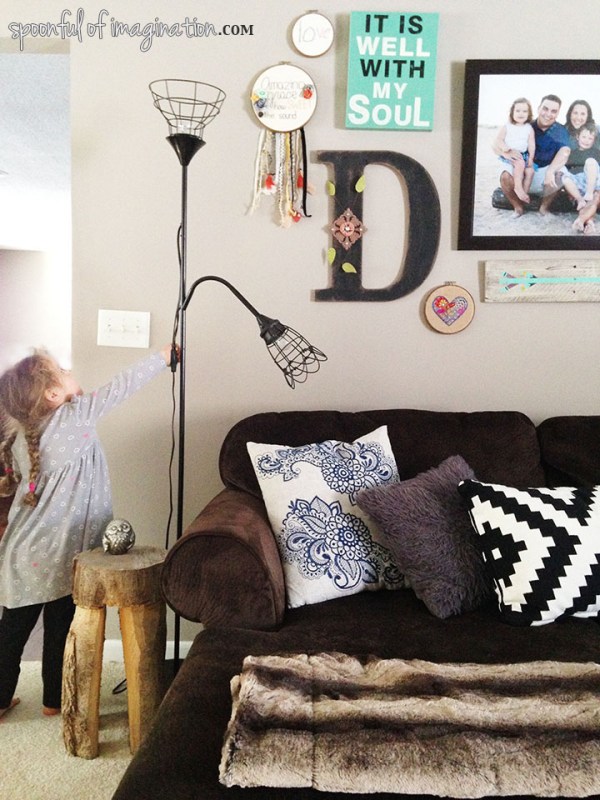

 I think the handmade lamp perfectly compliments my colorful, art filled wall.
 Do you know that moment when your porch turns into a kid jungle? There are kids climbing, doing chalk, looking for bugs and shoes strung all over. In these moments, you wonder if you should use another door to join them outside?
 I then ripped fabric like I did on my
 I painted a little mod podge onto my pot, and stuck a fabric strip on top. I slowly did this all the way around my pot. When I did a complete circle wrapped around the pot, I slanted my strip to go a little further down the pot till the pot was completely covered.

 Next, I added more mod podge on the bottom of the pot and curved my fabric over the sides and let it dry completely. Once it was dry, I painted the whole thing with a coat of mod podge, to protect the fabric. I let it dry. Put my plant back inside it, and it was done!

