Spoonful of Imagination

Add it to a Family for Something Beautiful

  • Home
  • Our Family
    • Our Home
  • Courses
  • Shop
  • Contact

DIY Christmas Hair Bow or Bow Tie

December 10, 2013 By Erica Deuel 3 Comments

Christmas_accessories_to_wear

Tree is up, check. Lights are strung, check. Frosty is up in the front yard, check. The only thing not decorated is… You!?

No worries, I have just the thing for you and your little Christmas elves. A no sew Christmas Hair Bow or Bow Tie.

The first thing you need is some fabric, string, and ribbon remnants.

fabric remnant hairbowI cut a four-inch square to start my hair bow/bow tie.

christmas_bow_tutorialNext, I grabbed the middle of the fabric remnant in a way that pressed a folded pattern in to it. I then tied a piece of string where my fingers were really tight to keep the fabric in this fold.

make_your_own_Christmas_hairbow

Christmas_bowtieI then cut the extra string long tails off and tied a scrap piece of burlap around the center to have a more decorative hair bow/ bow tie.

DIY_Christmas_bowtieThe last step was to hot glue a little pin to the back of the hair bow/ bow tie. This pin can be pinned to a shirt to be worn as a bow tie or to an elastic headband to create a fun holiday headband.

christmas headband

Christmas_hairbow_tutorial

handmade_bow_tieThat is it! I loved this simple look of the rustic burlap with the colorful plaid. You could decorate yours up more with ribbon or buttons if you want to create a different look. Just add a little hot glue after tying the string on and embellish it any way you want.

no_sew_hairbow

DIY_Christmas_hair or bow tie

I hot glued a small piece of paper to the center on my hair bows/bow ties with names on them to be used as name tags at my last Spoonful Lab. The idea was the paper could easily be removed, so my attendees could use their name tag as either a bow tie or hair bow.

This simple idea can be used for three different purposes and be made rather quick and cheaply. I love imagining the possibilities and how things can be used in more than one way.

Thank you again to Out of the Box Art Studio for hosting my last Spoonful Lab and to Sheila at Plum Doodles for helping me with my SWAG. If you missed this last lab, but would still like to make a winter feather wreath I have a soft launch of my Spoonful Tribe going. Sign up for a boxed craft delivered to your door and access to a special tutorial video of me teaching the craft. Can’t wait to see your creations.

Follow along with me and these journeys by following hashtags #SpoonfulLab and #Spoonfultribe on twitter, facebook, and instagram.

signature

Share this:

  • Click to email a link to a friend (Opens in new window)
  • Click to share on Facebook (Opens in new window)
  • Click to share on Twitter (Opens in new window)
  • Click to share on Pinterest (Opens in new window)

Woodland Fairy Birthday Party

October 20, 2013 By Erica Deuel 2 Comments

fairy_party

I am amazed at how many extremely talented people I have in my life. From family to friends (new and old) there is so much creativity around me. I am continually inspired and challenged by those creative juices of so many I love.

I shared with you the other day about how one of our best friends is making films in LA. Today, I want to share with you a birthday party that one of my friends threw her little girl, Zoë.

Rebecca is oh so talented. She is a professional photographer and is so sweet to let me share her gorgeous work with you here. She took these pictures and created this picture perfect party. She has skills!

fairy_party_decor

One thing that I adore about Rebecca is the heart behind the parties she throws for her kids.  Every detail and gorgeous bit of her parties comes from the heart to honor, celebrate, and love her child.

As a homeschool mom of three, pastor’s wife, daughter, friend, and all the other hats Rebecca wears, I love that it is such a priority for her to make her children know they are so loved.

From start to finish her kids help her pick the theme, find inspiration on Pinterest, and create the finished product.

How cute are those “fairy jewels” (pictured above) they created!? She and her girls created them by coloring the inside of an acorn cap with a marker and filling it with school glue. How simple is that!? They are gorgeous.

acorn wreath

I have wanted to throw one of my kids an art party for years. The boys have not gone for it yet, but maybe with Reagan I will get this dream. Rebecca came up with some amazing crafts for her party theme. Her daughter, Zoë, was turning five and loves art, so it was a perfect fit.

One of the first activities at Zoë’s party was to paint a fairy house. Rebecca got some $1 bird houses at Michaels, cut the perch off, and had acrylic paint and paint shirt cover ups for the guests. They did this activity first, so the houses would dry by the time the party was over. What a creative idea! A birdhouse is the perfect size house for a fairy. Genius!

fairy_house

Another craft the girls created was a fairy friend! She had all the supplies (popsicle sticks, tulle, yarn, felt, small artificial flowers, sharpie, hot glue gun, and a stick) ready, so the girls could just piece together what they wanted to dress their fairy. While the girls played a game, Rebecca hot glued all the elements together to make a fun puppet.

Reagan would love this! She is so into Tinkerbell (as you might see after Halloween), and she would love to have a little Tink to fly around. I have to remember this craft!

make_a_fairy

fairy_party_craft

On top of the fun crafts, the girls got to run and be ferries together. Rebecca had a pair of wings for each girl. The wings were decor and doubled as a party favor. They also wore them for a creative version of “duck, duck, goose”.

fairy_party_game
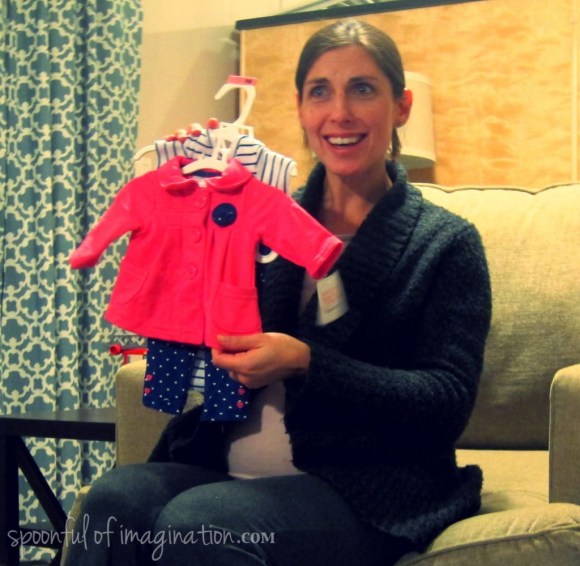
The girls look like they had the best time. There was so much creative energy and time spent to make such a special day.

The names of the food are perfection!

fairy_party_food

What an incredible party! I’m currently thinking through my J’s fifth birthday that is coming up. I know he doesn’t want a fairy party, but Rebecca has inspired me to think through what HE would like and not what I want him to like. It is all about celebrating him and the interests and gifts that he possesses.

At the end of the day, if he feels loved and celebrated like this picture of Zoë portrays of her feelings, I will be happy.
fairy_birthday_party
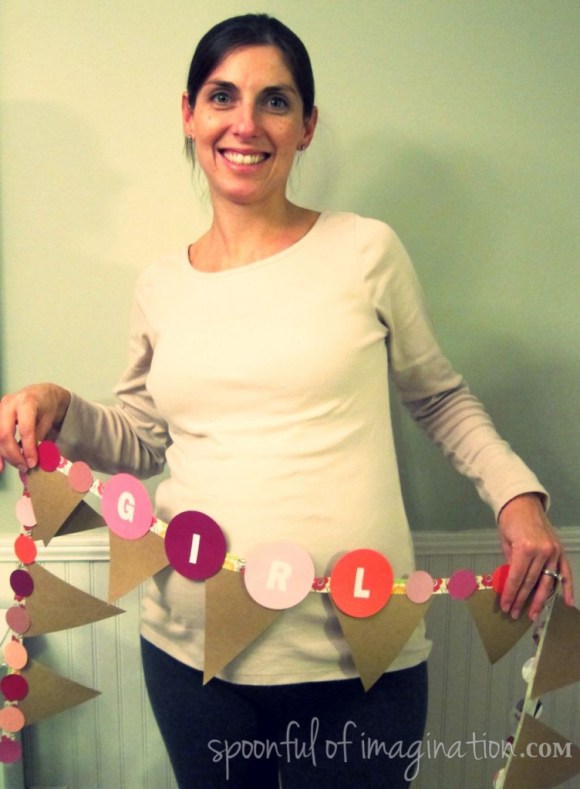
Isn’t she stunning!? I was blessed to hang with this sweet family last week. Can’t wait to do so again soon! Thank you so much Rebecca for letting me share your party with the world!

signature


Share this:

  • Click to email a link to a friend (Opens in new window)
  • Click to share on Facebook (Opens in new window)
  • Click to share on Twitter (Opens in new window)
  • Click to share on Pinterest (Opens in new window)

Pictures of my Day

March 26, 2013 By Erica Deuel Leave a Comment

Have I told you how much I love instagram? I am on there a lot during the day. It has totally replaced Facebook, Twitter, and really pinterest for me. Although I still upload to those avenues, I don’t check them or update them nearly as often. Pictures are huge to me. I am a visual person, and I have loved the inspiration I have found from following so many awesome bloggers as well as feeling like I am getting to know some pretty cool people. If you follow me on instagram you will catch windows into…

what I am doing…

Magazine and tea

What I am buying…

Alphabet Sign

What I am making…

colorful heandbands

How we are…

Sick girl And just generally more about us! I upload several pictures a day, where I blog only half the days in the week (most weeks). I would love to have you follow me there.  Just search ericadeuel or click this link to be directed. If you leave your instagram name in the comments below, I will follow you back as well.

One other aspect of instagram that I am really excited about is that I will slowly start uploading some quick one time sale items there. One reason I have stopped uploading to my shop is the amount of time it was taking to take pictures, write descriptions, and upload every product (since all my products are slightly different). I am going to try to upload a few items every week that are just a one time, buyer who leaves email first for an invoice purchases.

I hope this helps you to feel more connected to me and that my creations are more readily available as well as bring in some extra fun income for me to help decorate our new home (info coming soon about this!?).

My instagram picture for today is this sweet set of three spring headbands.

Spring Color Headbands

Each hair bow is on an alligator clip, so they can be interchanged on the different headbands (or worn without a headband).  I love all the bright fun colors in these bows, and they would make a great addition to any little girl’s spring wardrobe. As of this morning they were still available on instagram, but the first person to leave an email for them will get them {$18.00 shipped}.  My prices will always include the shipping cost. 

Thank you for checking in today and I look forward to finding you all on instagram and following along with your days too!

signature

Share this:

  • Click to email a link to a friend (Opens in new window)
  • Click to share on Facebook (Opens in new window)
  • Click to share on Twitter (Opens in new window)
  • Click to share on Pinterest (Opens in new window)

Girl’s Craft Night + Baby Shower

February 6, 2013 By Erica Deuel 5 Comments

paint chip baby shower banner

The other night I got a chance to throw a little girl’s night + craft night + baby shower all in one event with my friend Erin.

We had a blast planning it together for our good friend Dana, and it ended up being such a fun night.  It was low key, and the perfect blend of girl time, crafts, good food, awesome friends, celebration of life, and pajamas.

Here is a series of pictures from our night with steps on how to make the sweet “girl” banner I made for our party.

erin and me

hosting a baby shower

Erin and I were anxious for our friends to arrive, so we took a few pictures of ourselves while we waited.  This kept us from eating all the pretty food before they arrived.

girl baby shower food table

After everyone arrived, we ate and ate some more, while catching up.  The guest of honor is a candy lover, just like me.  We are kindred spirits with our sweet taste buds, so I loved having the task of bringing the sweets for the party.  I’m not much of a chief, but I can bake some cookies and buy some candy.  Thank you Erin for making the fresh creme cheese and dill dip plus the awesome tortilla roll ups.  She had the hard stuff.

After we ate, Dana opened her presents, and it was so fun to see her reaction to girly items!

opening baby shower presents

Dana has two boys and is pregnant with her little girl, Jane.  We all found out her baby’s name that night, and it was so fun squealing with excitement for her.  I love it.  I love that she has the same gender and close in age kids as me too.

I have been busily making Dana some hair bows, and last week I showed you how to make the DIY Burlap Hair Bow I made for her.  Well, I used that hair bow and others that I had made to form a sweet bouquet to use as a decoration for the shower.

baby shower bouquet

For the shower, we had everyone bring a frame that they would want to turn into a hair bow holder or a memo board.  The bouquet was pretty for the shower, but now that the shower is over all those hair bows needed a pretty way to be stored.

For exact details on how to create one of these chicken wire frames please read about my Pallet Memo Board.  For this night, I brought a series of wire cutters, my staple gun, and the chicken wire and we got to work helping one another.

chicken wire materials

girls craft night

crafters teamwork

girls craft night project

It can be a two person job to hold the wire down (from curling up on you) and stapling.  Courtney (featured on the left in above pictures) was a great assistant to all of us.  This was my favorite part of the night as we all sat around in our pjs and talked, laughed and crafted.  I can’t believe I didn’t get a group shot of us all together, but I did manage to get most of our frames in a shot together.

chircken wire frames

I love creating with friends and I love creating for friends.  It was so fun to craft together, and I also really enjoyed preparing for the night.  I made the fun “girl” banner out of paint chips.

DIY Baby Girl Banner

In short, this is how you too can make this banner!

1.  Gather some supplies

  • paint chips
  • hole/circle punchers
  • stickers to spell “girl”
  • hot glue gun with glue sticks
  • ribbon
  • scissors
  • brown card stock paper

DIY girl banner

2.  Punch circles out of the paint chips.  I used my big circle puncher to punch four large circles out, as those would be the circles I spelled “girl” out on.  I used the smaller circle puncher to punch a lot more circles out to use along the top of the banner (on either side of “girl”).

3.  Glue the four large circles in the center of your ribbon and glue smaller circles up and down the ribbon on either side of it.  I just put a small glob of glue on the ugly side of my paint chips and stuck it on the ribbon.  You don’t need much glue.

4.  I then used white stickers to spell “girl” on my banner, and cut out some big triangles out of the brown card stock and glued them on the other side of my ribbon.

pregant photo shoot with a banner

belly with baby girl sign

That’s it!  The banner is done!  How gorgeous is my model here!?  Dana wears pregnancy so well!

We had such a fun night honoring Dana and her sweet baby and just being with each other.

Have you ever had or been to a more informal baby shower like this one?  I loved being in comfy clothes and having a girls night rather than an early Saturday morning function.

pregnant mommy with shower hosts

I’m so blessed to have these girls in my life!  Now, Ms. Jane!  Hurry up and get here!  We are all anxious to meet you!

The banner you could turn into a birthday banner or really any celebration decoration!  What kid related outing or craft did you do this week!?  I adore all the entries from last week, but the one that had me giggling was the one about fire!  My friend Heather has boys that my boys would adore playing with, if there were not so many miles in between our homes.  Check out her great post on “Why shouldn’t we look at the Sun?” and link up your own post!

cultivated lives sun


signature


Share this:

  • Click to email a link to a friend (Opens in new window)
  • Click to share on Facebook (Opens in new window)
  • Click to share on Twitter (Opens in new window)
  • Click to share on Pinterest (Opens in new window)
Next Page »
  • Email
  • Facebook
  • Instagram
  • Pinterest
  • YouTube
YouTube-Channel
Erica Deuel

Subscribe for Weekly Updates!


Most Popular Posts

Painting Flower Pot Party Tips
DIY {easy} Burlap Wreath
DIY Outdoor Checker Board
Cheap lamp to Industrial Beauty
School Desk Makeover
DIY King Size Rag Quilt {Repost}
Chiffon Flower Tutorial
DIY Paper Butterflies- Spring decor for cheap
DIY Outdoor Table
DIY Bookends (what you can make for being a hoarder)

Categories

  • All About the Kids
  • art journal
  • Blogging
  • Christmas
  • Craft Projects
  • Dancing Zebras
  • DIY
  • Eddy's postcards
  • Embroidery Journal
  • Family
  • Featured
  • Fireside Chat
  • Foster Care
  • Giveaways
  • Guest Posts
  • Home
  • Homeschooling
  • Kid Activities
  • Kid Craft
  • My Heart
  • Our Outings
  • Project Spotlight
  • Send Out Love
  • Shop
  • Sponsored Posts
  • Spoonful Lab
  • Spoonful Tribe
  • Tips + Tricks
  • Traveling
  • Uncategorized
  • Vlog

Favorite Categories

Subscribe for Weekly Updates!

Favorite Categories

© 2023 Spoonful of Imagination, Inc.