Have you ever had a project where once you were in the middle of it-the idea of it didn’t seem quite as grand? You decide you will never do it again, but in a twisted way you are still glad you did it, and you might actually like the project!? That was this DIY rug for me.
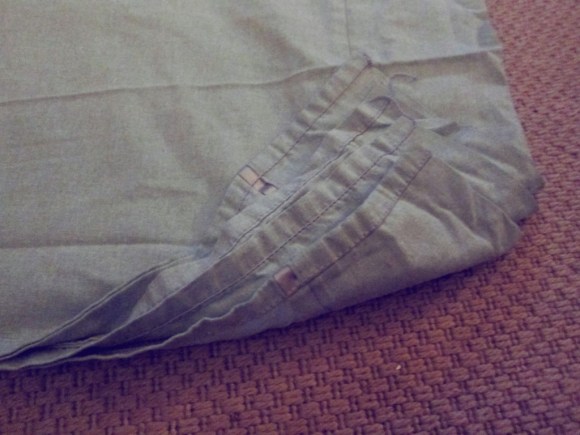
As we were clearing out and getting rid of stuff to put our house on the market (Our House Attack), I found all our old queen bed sheets. They were stuffed in the back of our linen closet and have not been touched since we got our king bed last summer. I put them in a huge pile and was getting ready to throw them out or donate them, when I had an idea. That pile of sheets was a lot of neutral color fabric that had to be able to be used for something.
I had been wanting a new rug for our sitting room, and decided that a circle rug would look best. As I priced them out, I saw that they could be pricey, so once I saw that pile of fabric, I knew I needed to try to make a rug.
I started by folding each one of my sheets over, so when I cut my 3″ wide strips, I was saving time by cutting through four layers of fabric at once.
I literally cut 3″ wide strips out of all of the flat-bed sheets. The length doesn’t really matter when you are cutting the fabric, but I would go back later and cut them to be about 3′ long. You ultimately want 3″ x 3′ long strips of fabric to braid. Much longer than that gets too hard to maneuver.
After all your fabric is cut, you are ready to start braiding. Braid three pieces of fabric together, just like you would braid anything else. I used a pin to hold my ends together on a basket to make it easier to braid.
When one of my small strips ran out while braiding, I simply hot glued another strip (of a different fabric pattern) to it and kept braiding. Once you have a long strand of braided fabric, you can start to curl it to form the rug. I know most tutorials say to hand stitch the braids together. I didn’t want to spend that amount of time on this project. I pulled out my hot glue gun, and it did an amazing job of bonding the braids together. I simply added some glue and then stuck my braid to it as it curled around.
Once I ran out of braid, I went back and braided some more strips till I had a long braid once again. Next, I simply took both ends and hot glued the different strands together.
I feel like there is so much cushion for error and imperfections with this project. The ends are barely noticeable by being hot glued straight together like that as you can see in the picture below.
Although it is slightly noticeable in the picture because of my arrow pointing to it, standing on my rug now, I don’t see any of them. There was nothing hard or precise about this project. It was literally just braiding and gluing as I have shown. The part of this project that made me say I would NEVER do it again is how much time it took. Granted it didn’t require any thinking, so I did it in front of the TV, but now I have a new understanding of why rugs cost so much.
I kept going with the braiding and gluing steps until my rug grew and grew.
Finally, I ran out of strips of fabric. The rug didn’t end up being as big as I would have liked, and it might have a slight ripple speed bump in it. Overall, I really like it!
I wanted to try to help smooth it out and reinforce my hot glue by adding a back fabric to the rug. I used another big sheet to cut out a circle of my rug that I then sprayed glued onto the rug. I still want to go back and use a stronger cement type glue to seal the edge of the under layer fabric to the rug more securely.
We have been walking on it for over two weeks now, and it is holding up great! My dogs love to curl up on it and I think it looks so good in the little sitting area in our kitchen.
I think the circle shape helps close the spot in better than the long rectangle shape rug did. What do you think? Do you have a circle rug or obsession with circles? After making my circle mirrors and working on this circle rug, I am obsessing over circles.
Thank you so much for stopping by today!
**Congratulations to Candice H. for winning my Easter Basket worth of handmade goodies! I will be in touch!


