

I have a hard time throwing left over craft materials away, so I store them and can become quite a hoarder if I am not careful.
Last weekend I made an initialed D out of yarn, and I had this brightly colored yarn left over. I knew it wasn’t enough to make another letter, but there was enough for something fun. I came up with this DIY yarn picture frame. If you can wrap a frame in yarn, you can do this project!
I started with an old picture frame I got at the Dollar Tree, and now I think the frame looks like something out of a boutique. I love it.
I’m going to show you step by step how I did it, so you too can make a fun frame!
Materials:
- Cheap Frame
- Yarn
- Hot Glue Gun
- Scissors
- A Picture
 If you like to be crafty, most likely these are all items you already have on hand too.
Start by taking the back off your picture frame. It needs to be open, so the yarn can wrap through it. Then place a small amount of hot glue onto the frame and stick your yarn on it. It does not matter where you start.
You are going to wrap around the whole thing until you complete the rectangle and are back to this starting point.
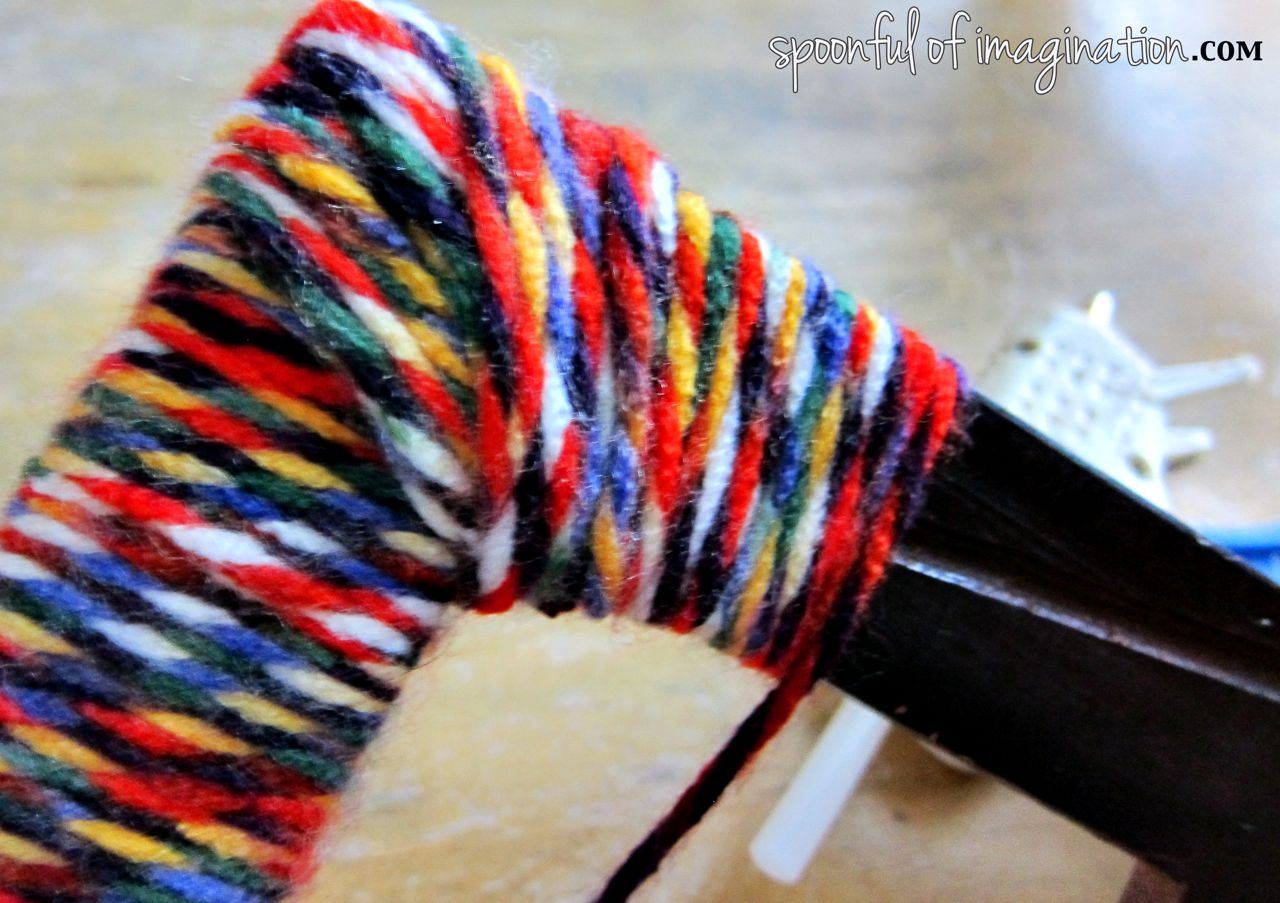
 Start wrapping your yarn around the picture frame. I didn’t bother adding any more glue until I reached the corners. I then placed a small amount of glue and laid my string on top. Wait a few seconds to allow your glue to dry, before you start wrapping again. If the glue has not set, most likely it will not hold its place. I did this process a few times to get me around the corner.
 Continue to keep wrapping until you get to the next corner. You then add more glue to get you around that corner-just like you did before. Just wrap and wrap. If you look closely at my corners you can see that I layered some yarn on top of other wrapped strands. Do what ever you need to, to cover those corners well. The string is gorgeous and you will create the same look no matter how many layers it takes to wrap it. The point is to cover up all the ugly brown frame.
 If you want, you can wrap your sides and come back and do the corners. I actually liked this way better. Cut your string and re-glue a starting piece onto your frame. Just glue it on the back of the frame, so no little fringe starting piece will show from the front.
 Once I was done wrapping, I thought the yarn frame looked pretty cool by itself. You could hang it up right then as a fun piece to add to a wall collage. I thought a paper mache letter would look cool hanging inside.
 I decided to turn my frame into a real frame that can sit on my buffet. I added a small dab of hot glue into each of my corners and carefully set my glass on top. Be careful to align this straight.
 I then set my picture inside and hot glued a few small felt pieces around the back of the frame to hold it into place. The back no longer fit down into the little grove because of all the string. I figured this little system worked, and when I want to switch out the picture, I can just rip off the felt and redo this step.
 I love how it came out. I especially love the contrast of my black and white family picture that Someplace Wild took for us this summer with the brightly colored string.


I think this DIY yarn picture frame would make great, inexpensive gifts. You can personalize this project so much by picking out colors of yarn that apply to who you are crafting for, and insert a special picture that holds a special memory. The holidays are going to come fast, and I am tucking fun crafts like this away to remember for presents. Be prepared fam ;).
Hope you all had a great week and Happy Friday!! I hope you are able to incorporate a spoonful of imagination into your weekend. If you have any questions about this project (or any of mine!), please feel free to reach out to me! I love to hear from you all!
