Disclaimer: The paint I received for free. Thank you Modern Masters for so generously gifting it to me. All opinions are very much my own.
 Fall is here. With the new season comes change, fresh starts, and lots of color.
As much as I love the simplicity and beauty in white, clean, and simple, my heart goes pitter-patter for color. It always has. It should be no surprise then that fall is my favorite season. The change of weather, the colorful layers of clothing, and the brilliant leaves have me looking forward to fall all year-long.
Last year, we kind of missed fall with our move from Georgia. We moved before Georgia’s fall and after Indiana‘s. I was robbed, which made me all the more excited for it this year. I started prepping my fall porch mid summer. Let me give you a little before preview, so you can see what I had.
 There is nothing horribly wrong. It’s actually pretty simple, clean, and neutral.
I don’t think any of those words describe me though. I have big dreams of expanding the porch and replacing the white columns with thick wood ones, but until that day comes, I did a few more inexpensive changes to make the front entrance of my house feel a little warmer and colorful.
One of the first things I did was brighten up the light fixtures with a fresh coat of spray paint. Next, I stuck a few flowering bulbs into my plain wreath to give it a little life and fun color as well.
 I bought a few new things like a metal mail box, rug, and yellow chair to add some fun textures and color to my space.

 As fall came, I added some mums to my hello pots and got some pumpkins. I feel like my front porch is one of the few decorated for fall (let alone with a pumpkin out front) in town. I joked with a friend that this southern girl’s style may stick out like a sore thumb up north. She assured me fall decoration is done up here, it’s just that no one wants to admit fall is here because that means the snow is coming.
 The biggest change was switching out my front door paint. I needed color. I have never lived in a red brick house, so I was not sure which direction to go. I knew I did not want to choose the wrong color and have to do this project more than once, so I turned to my friends for help. I got lots of helpful opinions in a poll on Instagram. Navy, Yellow, Mint, and (my pick) purple were the top runners. I wanted to use Modern Masters Front Door Paint and lucky me they have an app to help. I was able to try these different colors on my front door by just taking a picture in the app of my door.
 I had a lot of fun with the app (available for both iPhone and Android) and landed on purple. I love how it adds a fun pop of color, yet it is not as out there as the yellow.
 I love how it turned out! I liked the look of the yellow against the red brick (just not for the whole door), so that it why I ended up using lots of accents for my porch in yellow.
 I was a little nervous when I painted the first coat. It was so bright. I wondered if I would regret my decision, but I pressed on.


 I realized the color I was using was such a dark color and contrast to the white-it just needed several coats. I ended up doing three coats, and it was worth it!
 I only have good things to say about this paint! Your front door is the one of the most important elements on the exterior of your home. Let it express you and say welcome. Modern Masters has created 24 beautiful colors inspired by the emotional color wheel. My purple is actually called Spiritual. Which may not be a surprise.
Their paint is water based, quick drying, and contains non-fading technology that allows you to paint and close the door all in the same day.
Available at HomeDepot.com, selected Lowe’s stores nationwide, and the Modern Masters online shop.

 Painting your front door is easy, quick curb appeal. Don’t be afraid to try something new and bold! If you would like a more detailed tutorial on how to paint your front door, watch this one minute video.
 Fall is so colorful with the beautiful leaves and now so is my front porch. It felt like the perfect time to share this little makeover with you.
There is one little addition to this porch makeover that I did NOT contribute. Did you catch the beautiful chalk heart behind my yellow chair? That was created by my Jeremiah because he “loves me”. I have not had the heart to wash it off, although he did get a little “please keep chalk on the driveway” from now on talk.
Do you have any fall projects on your list? I can scratch painting my front porch off mine. It’s time for another project.

 What do you think about the fur craze?
 The first thing I did was use some pliers to pull the little staples out that were holding the cushion in place. I was excited to see the foam was in good condition, so I decided to reuse it. I gave it a Lysol scrubbing to make sure it was clean and set it aside.
 I then spray painted thin coats till the stool was covered with a pretty dark teal.
 I bought a couple small faux furs in the craft aisle at Hobby Lobby. If you are a regular there like I am, it is down the felt aisle and costs around $2-$3 a piece. I sewed two pieces together to make one larger sheet of fur.

 I laid the foam back on the stool, figured out where I wanted my seem in the fur to be, and started using my staple gun to attach the fur. After getting one side secure, I stretched the fur across the stool, trimmed some of the excess and then started stapling the rest of the fur in place.

 Once the fur was complete, the stool did not give me the “fun” look I was hoping for. I decided to use some paint tape to tape off paint lines to add gold paint to the stool’s legs. That was just what it needed.
 I love how it turned out! It is such a fun eye catcher. The mix of texture and neutrals with a pop of color is exactly what I had in mind.
 Reusing a tired old piece to create something beautiful is so fun. It’s one of my favorite crafts to do.
 My little Reagan has currently claimed this stool and moves it from room to room. Today, it lived in our sun room where we do most of our school during the week.
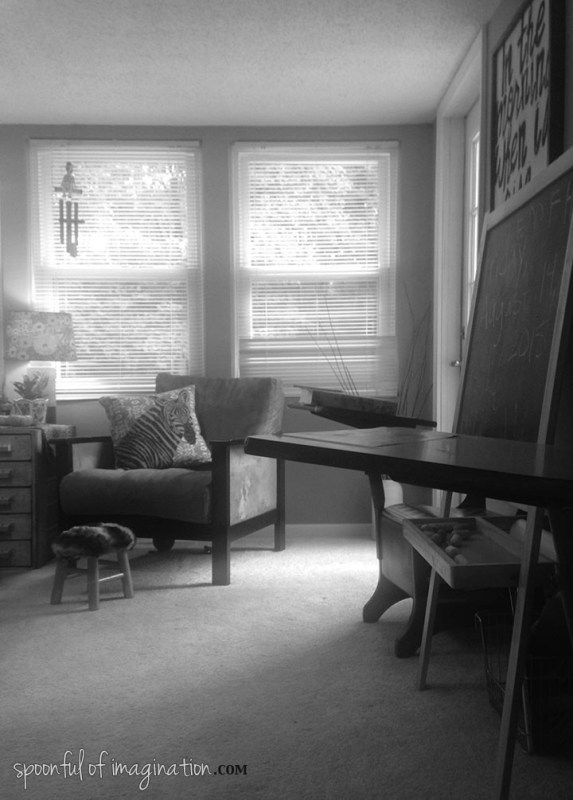 If you’ve looked into fur pieces, you know that they can be pricey. I think this stool cost me about $7, since I already owned several of the supplies. Creating something can be so much cheaper.
 Color can move us. It is a reason why it is so hard to pick paint colors for rooms. We want to pick a color that inspires us and creates a certain mood. Rainbows contain so many colors and they all fuze together to be beautiful. It is my Reagan’s favorite color. She might occasionally say purple or pink, but if there is a rainbow option…she picks it. It might be a popsicle. It might be a shirt. It might even be a pair of shoes.
 While the rainbows were drying I broke out my ribbon stash. I wanted these rainbows to kind of have a wind chime or dream catcher feel, so what better way than to add some more textures to them!?
 As well as having pieces of ribbon cut for their rainbows, they were also making ninja masks. It was quite fun to watch them enjoy and be inspired.
 Once they all had a good pile of cut ribbons, I had them line them up in the order they wanted. I then hot glued them in place while also adding a little loop at the top so they can easily be hung.
 They turned out so cute! The kids were so excited about them.
 We hung the boys’ rainbows where we do school, but my little Reagan wanted hers to hang right above her bed! I now ask her every morning if she had rainbow dreams.
 This was such a fun little craft. I love seeing their art around our home!
 When I started dreaming of how I wanted to create my Reagan’s new bedroom, I knew I wanted lots of color, texture, patterns, and fun. I pictured fun color with pops of natural elements and black and white contrasts thrown in. What I did not take in account was my daughter having an opinion, and she had one.

 It was really bright. I had to try to envision the end result. I kept thinking this seems like a nursery for a pink ballet themed room. I just kept playing in my head “I love my daughter, I really love my daughter” as I painted every stroke. I fought that picture in my head with what I knew the end result could be.
 I was so excited when I saw that Royal Design Studio Stencils had so many fun, girly stencils. I fell in love with the

 This stencil was so simple in the fact that I did not worry about it looking slanted when I stood back. Based on the pattern there was no fear of my stencil going crooked. What was a little more tricky was lining up the stencils, and that was only because the connecting pieces (petals) were smaller.
 I decided to use gold as the accent color for this stencil because it’s fun and also subtle. I wanted the wall to ultimately look purple but also fun and a true accent wall. The stencil created that look!
 The process wasn’t fast enough for this sweet, exited girl.
 I love how this room can grow with her. It’s so fun now, but it can also last for years. I joke with her now about trading rooms. What I love most though, is she loves it as much as me. She calls her wall her golden flowers.
 As I painted this room, I realized I really didn’t want to spend the paint or time to paint her closet. It was a clean light gray. It looked fine and was in good shape. There was really no need to paint it except that it would have this harsh line that might look like I took the lazy way out in not painting it, whenever the closet doors were open.
 By doing this technique the wall looks intentional (not like a lazy mom), and it’s also a fun element all on its own! I really love it, and now I want to go back and do the same thing in my boys’ bedroom.
 What do you think of all the color and splashes of fun? Does it make your heart go pitter patter as well?